IDR Integration Guide🔗
Once Taegis™ IDR has been enabled for your tenant, select Identity from the Taegis Menu to begin configuring your integration with Microsoft Entra ID.
Set Up Overview🔗
The setup process uses the Sophos Master Application in Azure to automatically create the required application and grant the necessary permissions within your Azure tenant.
Important
A Taegis user with the Tenant Administrator role is required to perform this set up. IDR requires Microsoft Entra ID P1 or P2.
Set up the Microsoft Entra ID Integration🔗
- From the Taegis Menu, go to Identity.
-
Click Set Up on the Microsoft Entra ID card.
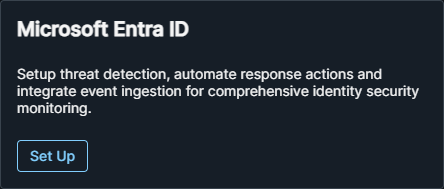
Click Set Up -
Enter a name for the integration and click Next.
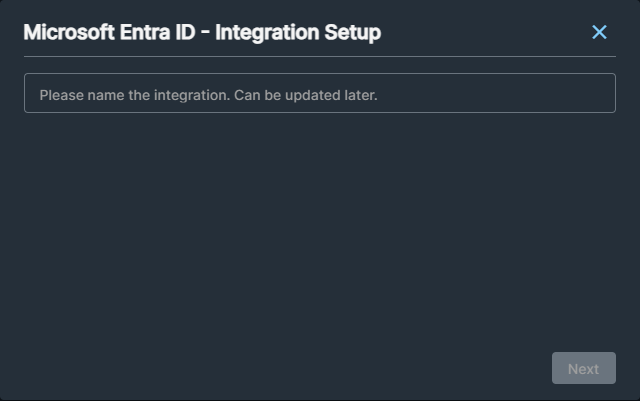
Name the Integration -
Click Authorize to be redirected to Microsoft's identity provider.
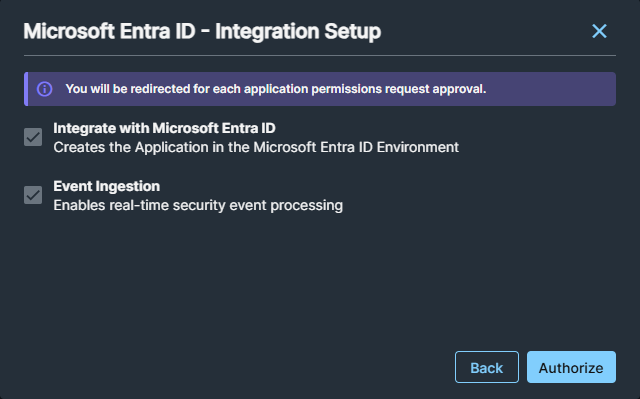
Click Authorize -
When prompted, sign in with a user account that lets you grant organization-wide consent for integration with the Entra ID tenant. Then approve the listed permissions to give IDR access to Entra ID. For more information, see the Microsoft documentation.
-
When setup is complete, click Close.
Retry Integration Authorization🔗
If the Admin Consent process fails with an error that states the applications weren’t found, Microsoft replication delays usually cause the issue. Use the following steps to complete the setup:
-
Wait 15–30 minutes for the service principals to replicate across Microsoft’s infrastructure. You can continue working on other tasks while you wait.
-
Go to Identity > Settings.
-
Click the Ellipsis icon in the Actions column and select Grant Admin Consent, which redirects you to Microsoft’s identity provider to complete authorization.
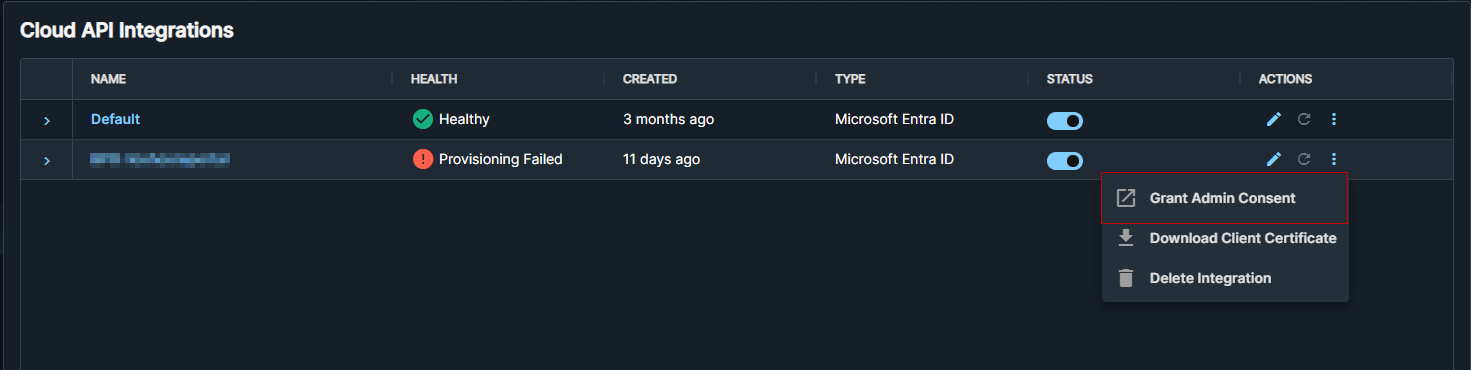
Click Grant Admin Consent -
When prompted, sign in with an account that can grant organization-wide consent for the Entra ID tenant. Approve the listed permissions to grant IDR access to Entra ID. For more information, see the Microsoft documentation.
-
After you grant consent, click the Refresh icon to re-provision the integrations.
Reprovision Integration
Tip
Provisioning retries automatically for up to 60 minutes. Click Refresh only if more than 60 minutes have passed since you started the integration.
Set Up Automations🔗
If you would like to use response actions with IDR, you can configure the necessary actions, playbooks, and connectors.
- Knowledge Base Article: How To: Setting Up IDR Automation Playbooks
- Knowledge Base Article: How To: Configure Entra ID Force Password Reset Automation
Note
If you have previously configured Azure AD or Entra ID connectors and playbooks, you do not need to do this step again. Automation playbooks are available across the platform once configured.
Automated Response Actions🔗
Once you have enabled your connectors, you can configure automated response actions for Identity findings using the User Automated Response Actions playbook template. Follow the steps in Playbook Templates for using and configuring templates along with the following guidance for the Playbook Execution configuration:
-
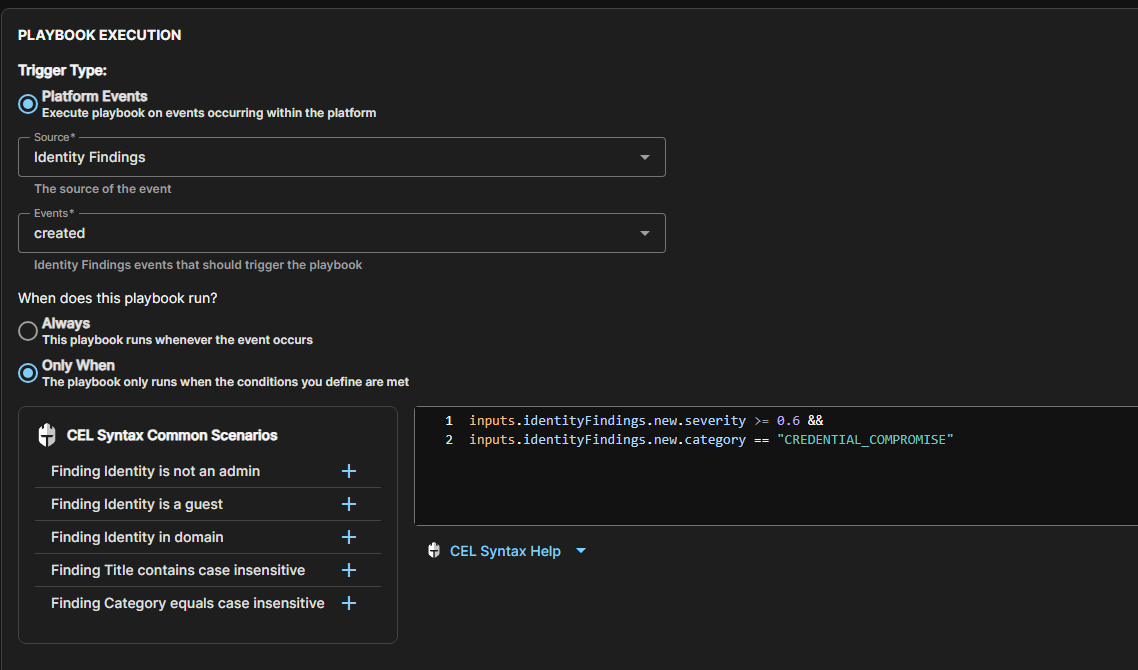
For the Trigger Type, choose the following:
- Source: Identity Findings
- Events: Created
Warning
Choosing Updated for the Events will result in the playbook executing every time a finding update event occurs, which happens every time the posture checks run. If you choose this, it could result in a user's password being reset multiple times a day.
-
For When does this playbook run?, select Only When to customize the conditions in which the playbook should run. Refer to CEL Overview for more details on the Common Expression Language syntax.
The following example will execute the response action whenever a new Credential Compromise finding with a critical or high severity is created.
Below are some additional examples of matches you can perform via CEL expressions to customize what triggers the response action.