Identity Settings🔗
Identity Settings is where you can configure your monitored domains, view the identity module integration health, and configure the Identity Posture check preferences.
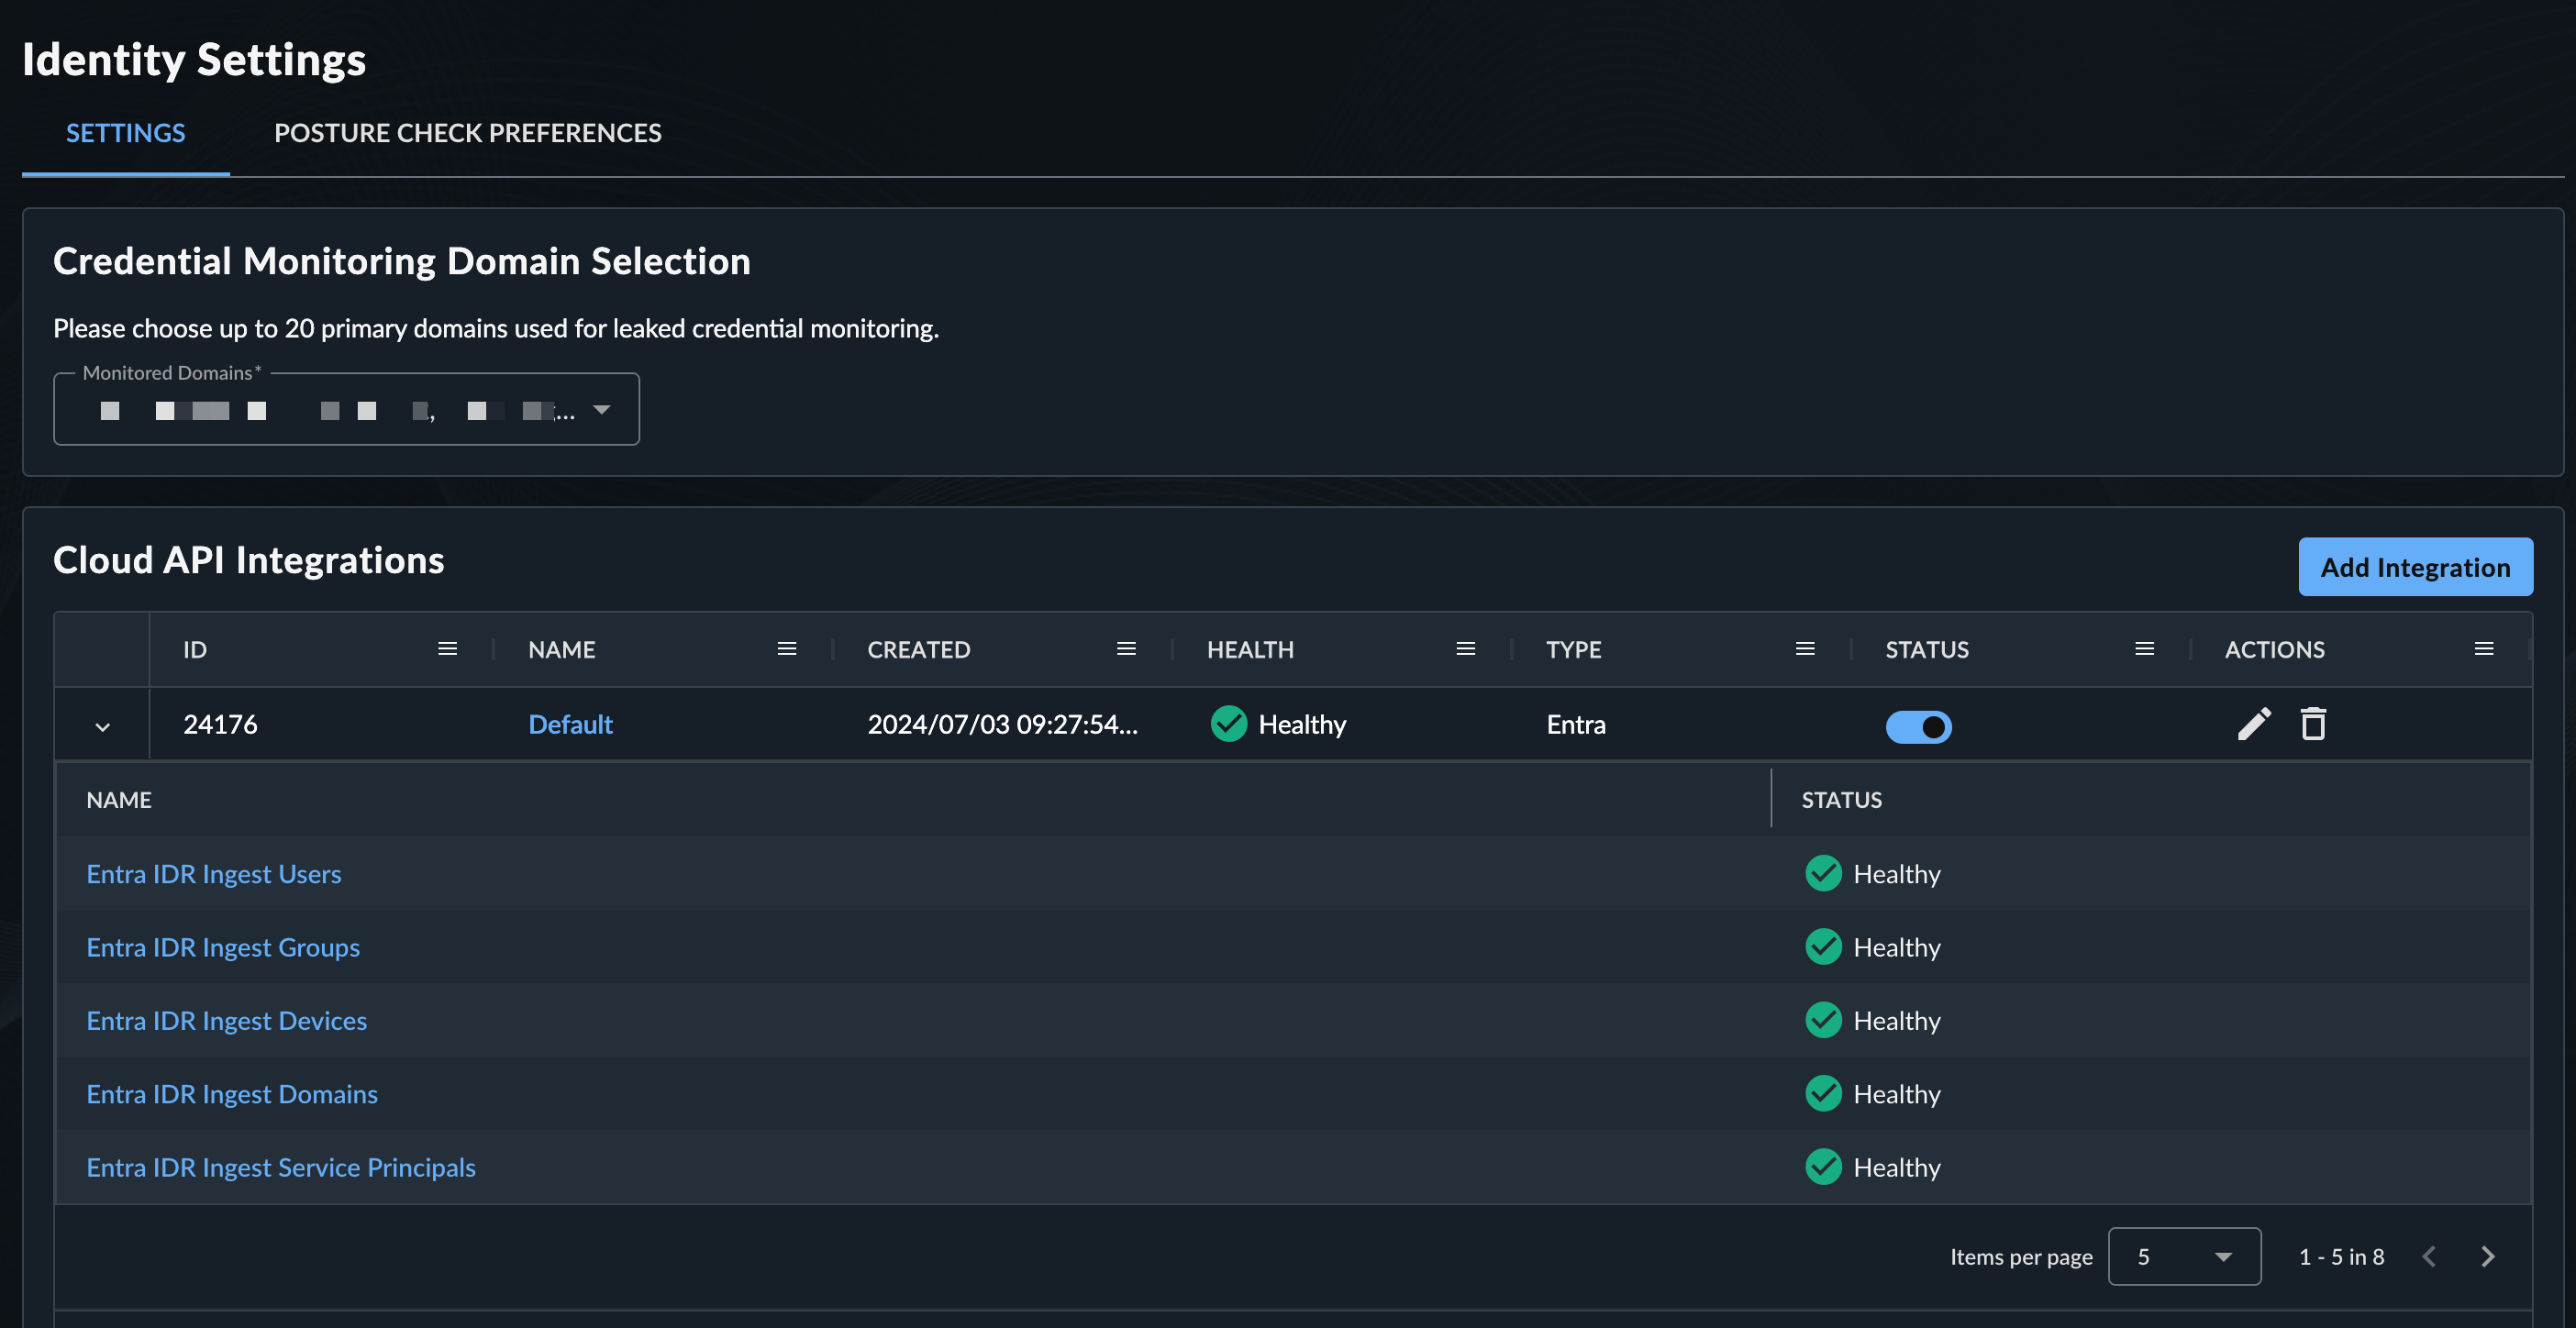
Configured Integrations🔗
The Configured Integrations section displays a table of the cloud API integrations used by Taegis™ IDR to collect data and execute the security assessments against your Microsoft Entra ID environment. Expand a row to see the child integrations and their health status.
Note
The parent name will show the child with the most severe error condition.
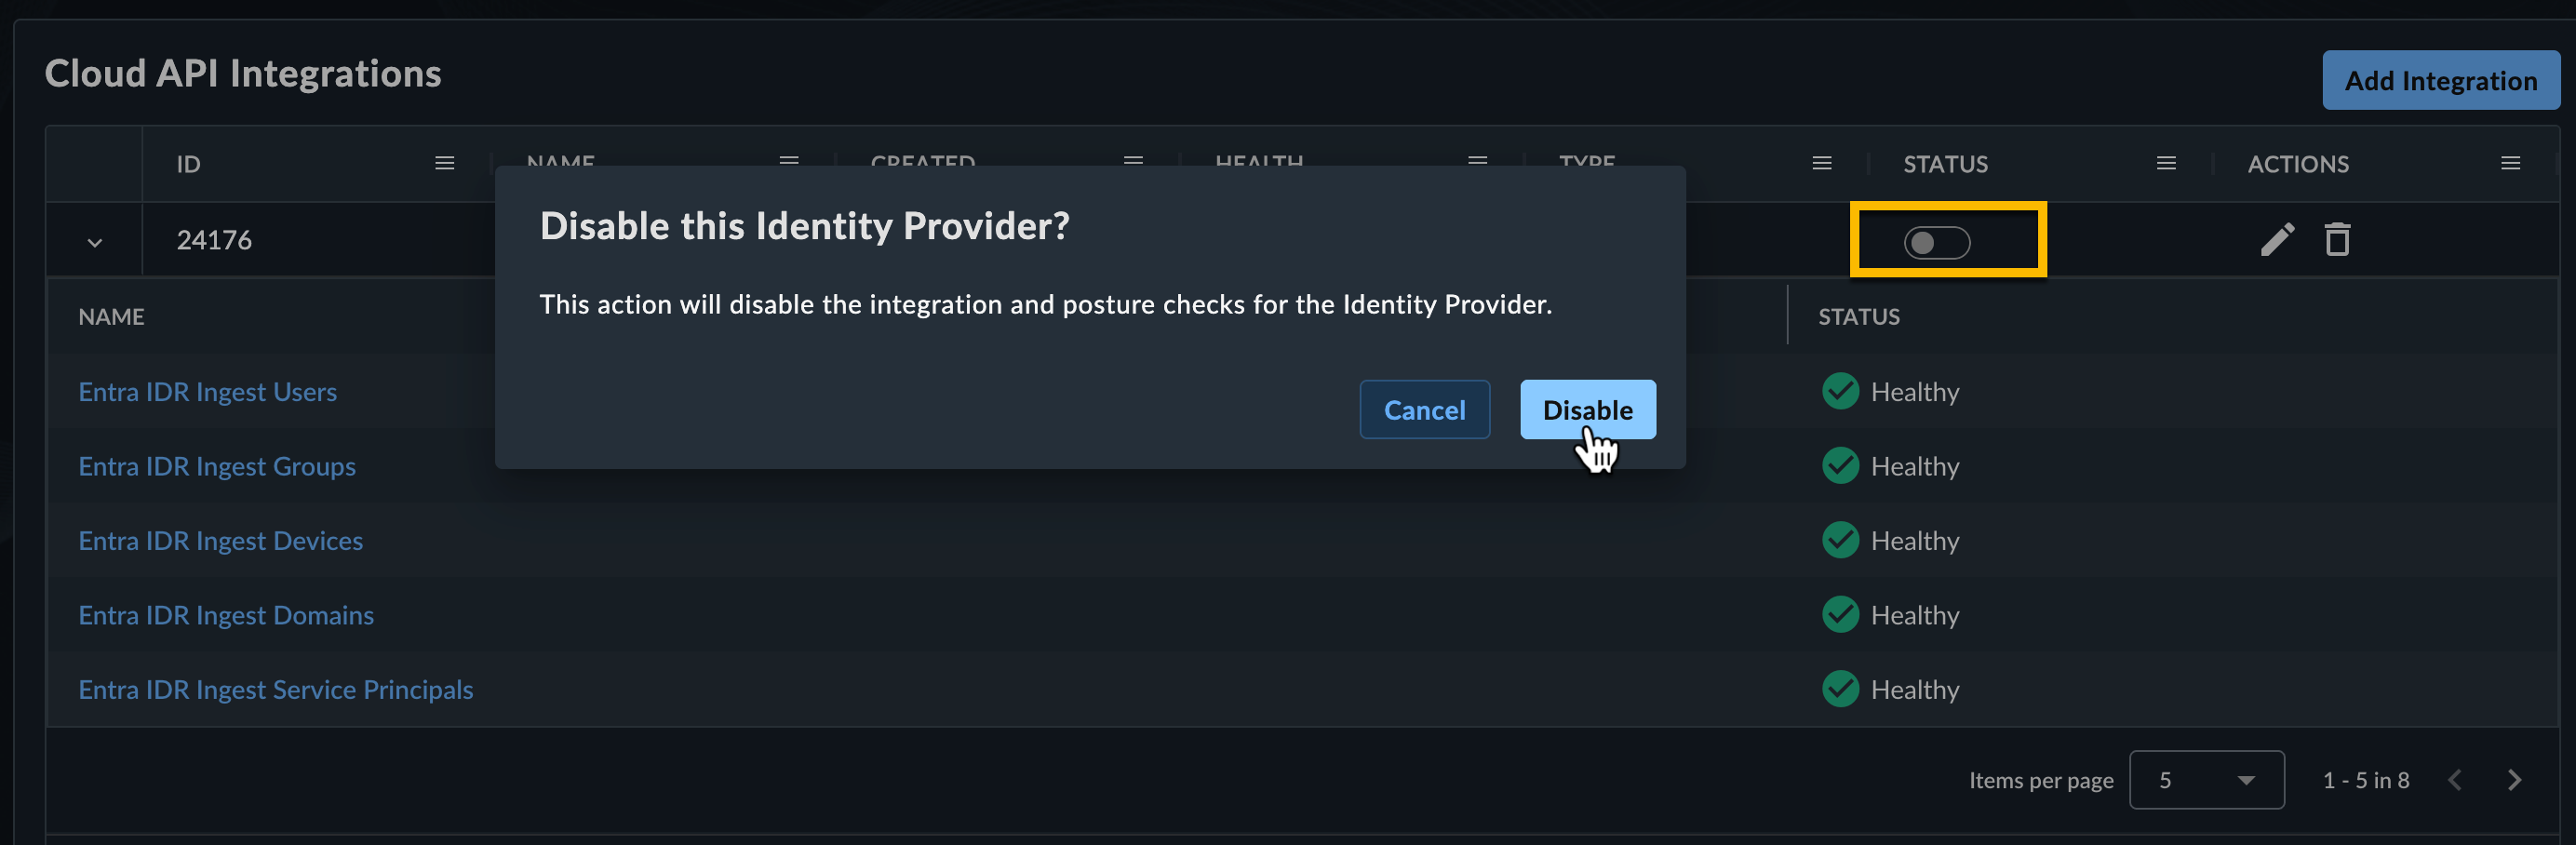
Disable Integration🔗
To disable the integration and posture checks for an Identity Provider, disable the toggle from the Status column and confirm your action.
Edit Integration🔗
To edit the integration configuration, select the edit icon from the Actions column.
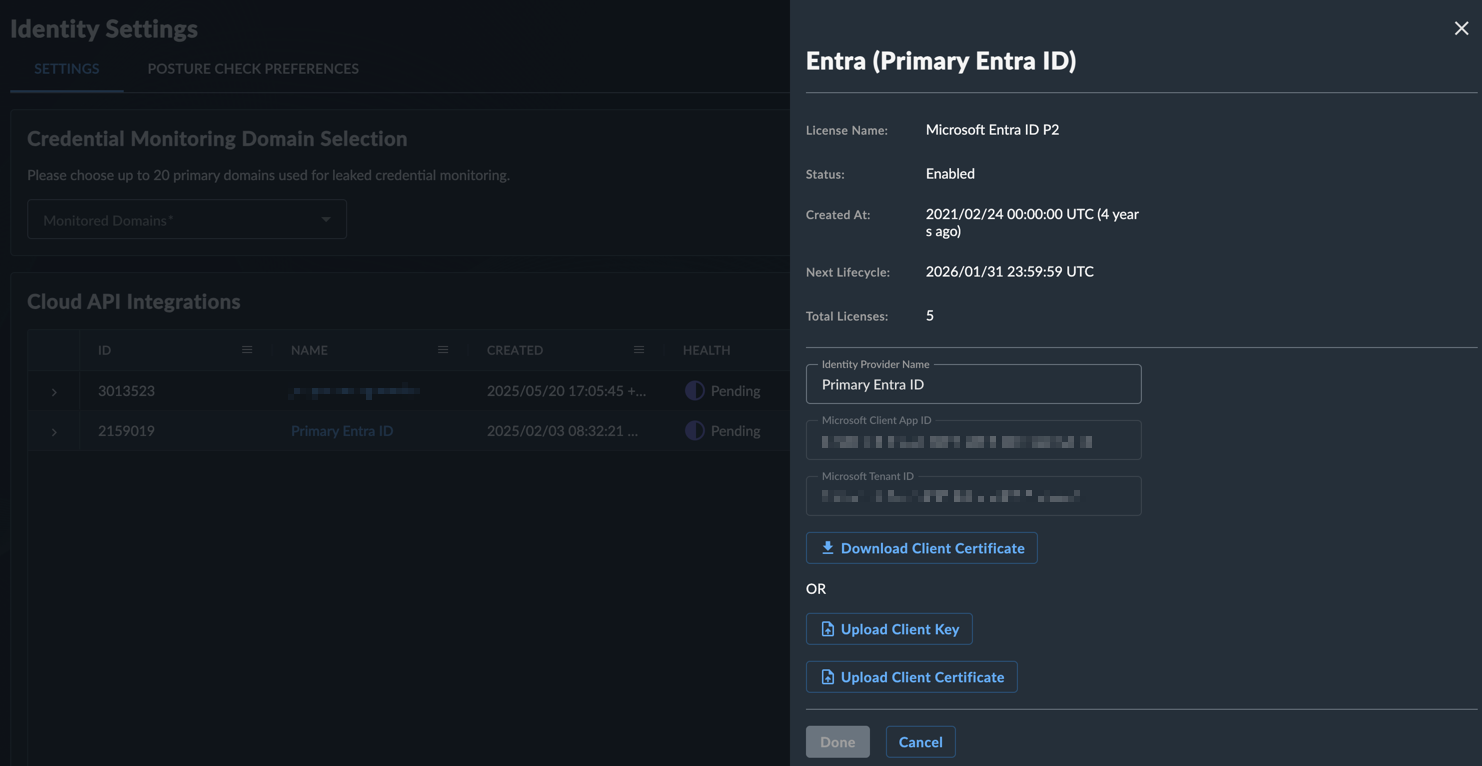
Tip
Click Grant Admin Consent to regrant admin consent for the Identity Application in Entra, if required.
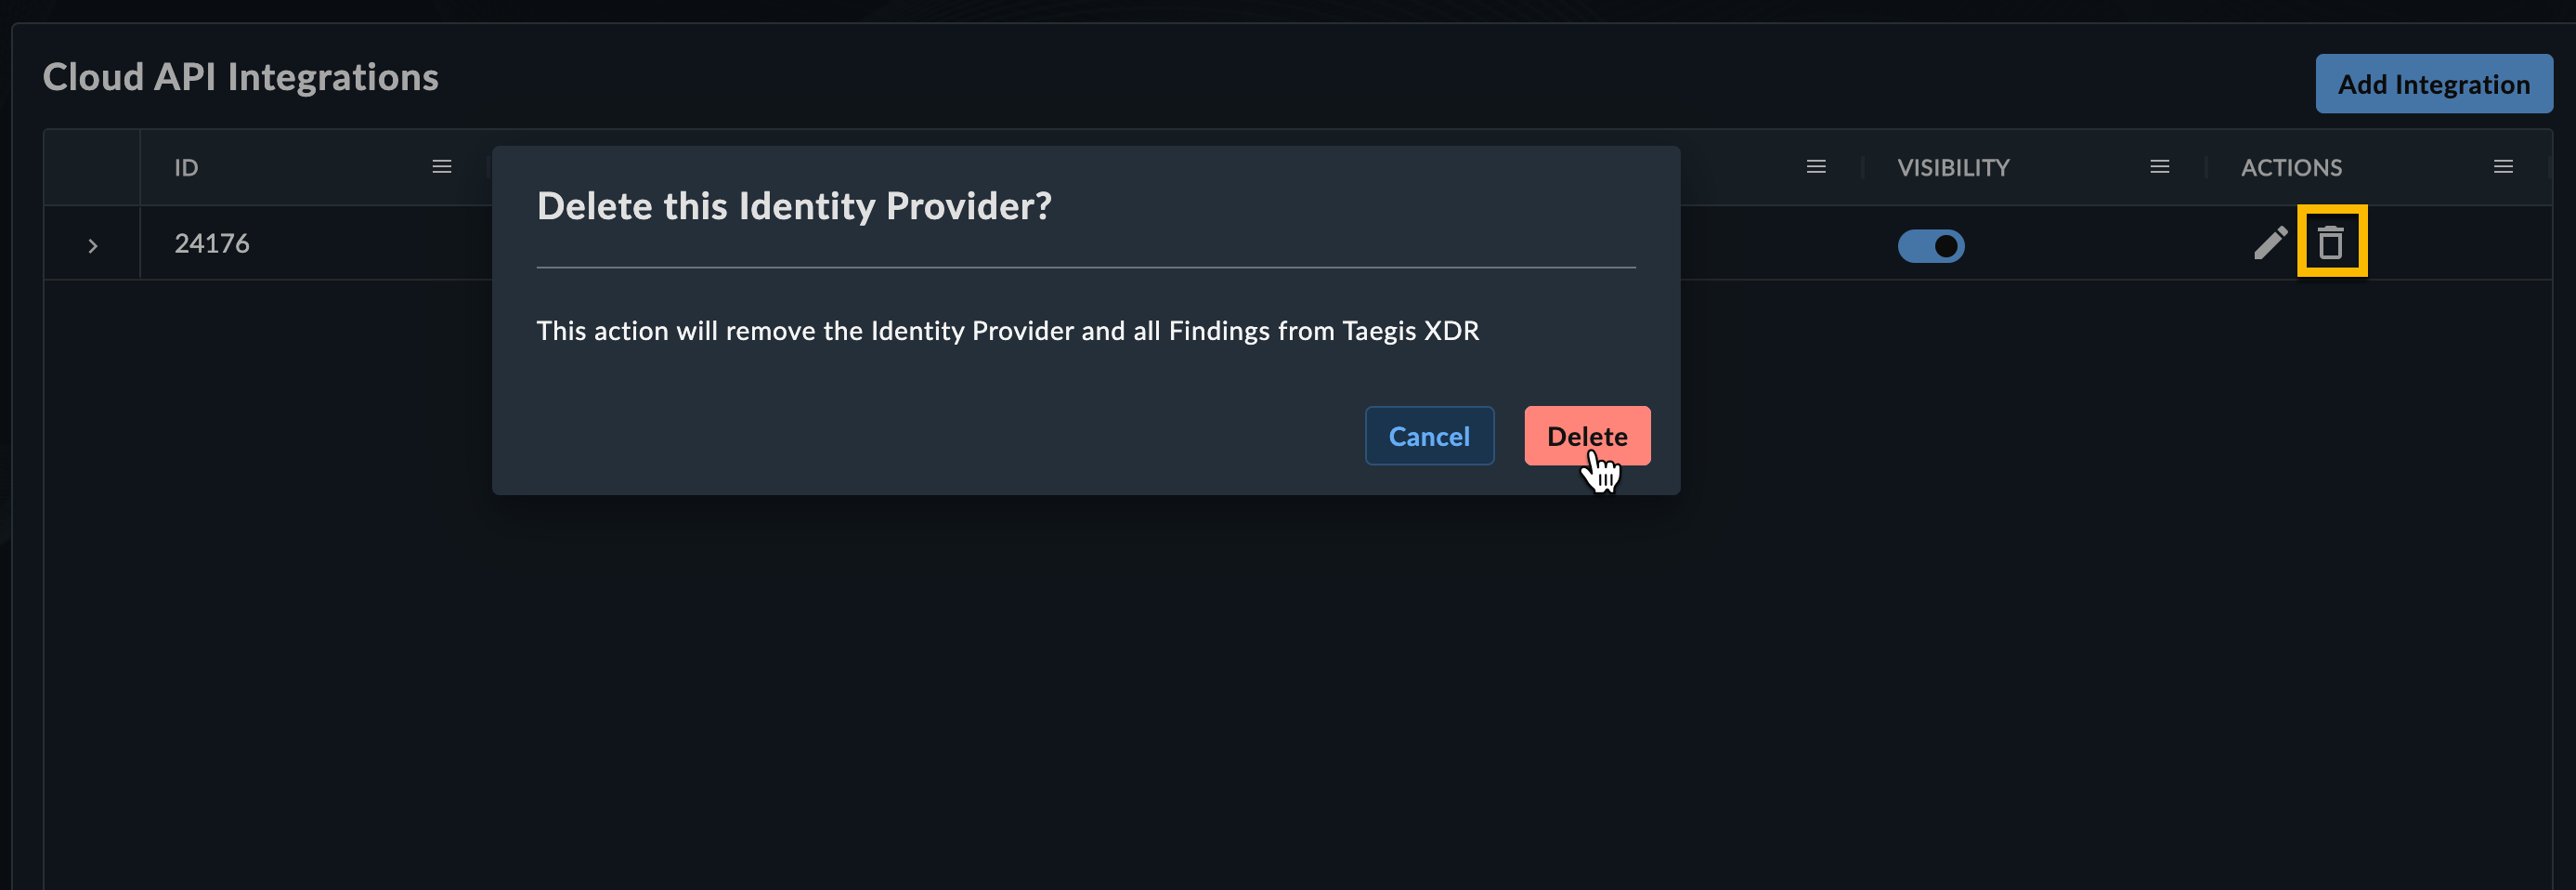
Delete Integration🔗
To delete the integration and remove the Identity Provider and all findings, open the additional actions menu and select Delete Integration. Click Delete to confirm your action.
Dark Web Monitoring🔗
The Dark Web Monitoring tab allows you to set which primary domains are monitored for credential leaks and configure users for VIP monitoring.
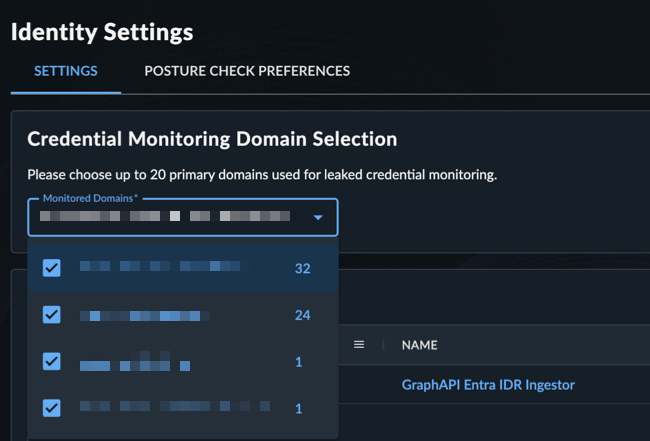
Select Domains for Credential Leak Monitoring🔗
The Credential Monitored Domains section allows you to select which primary domains are monitored for credential leaks. Domains sync from your Entra ID tenant every 24 hours and do not show in the Credential Monitored Domains section immediately after initial IDR setup.
When synced, do as follows to select the domains you want credential leak monitoring turned on for:
- Click Edit Domains.
- In Credential Monitored Domains, select each domain you want credential leak monitoring turned on for.
- Click Save when complete.
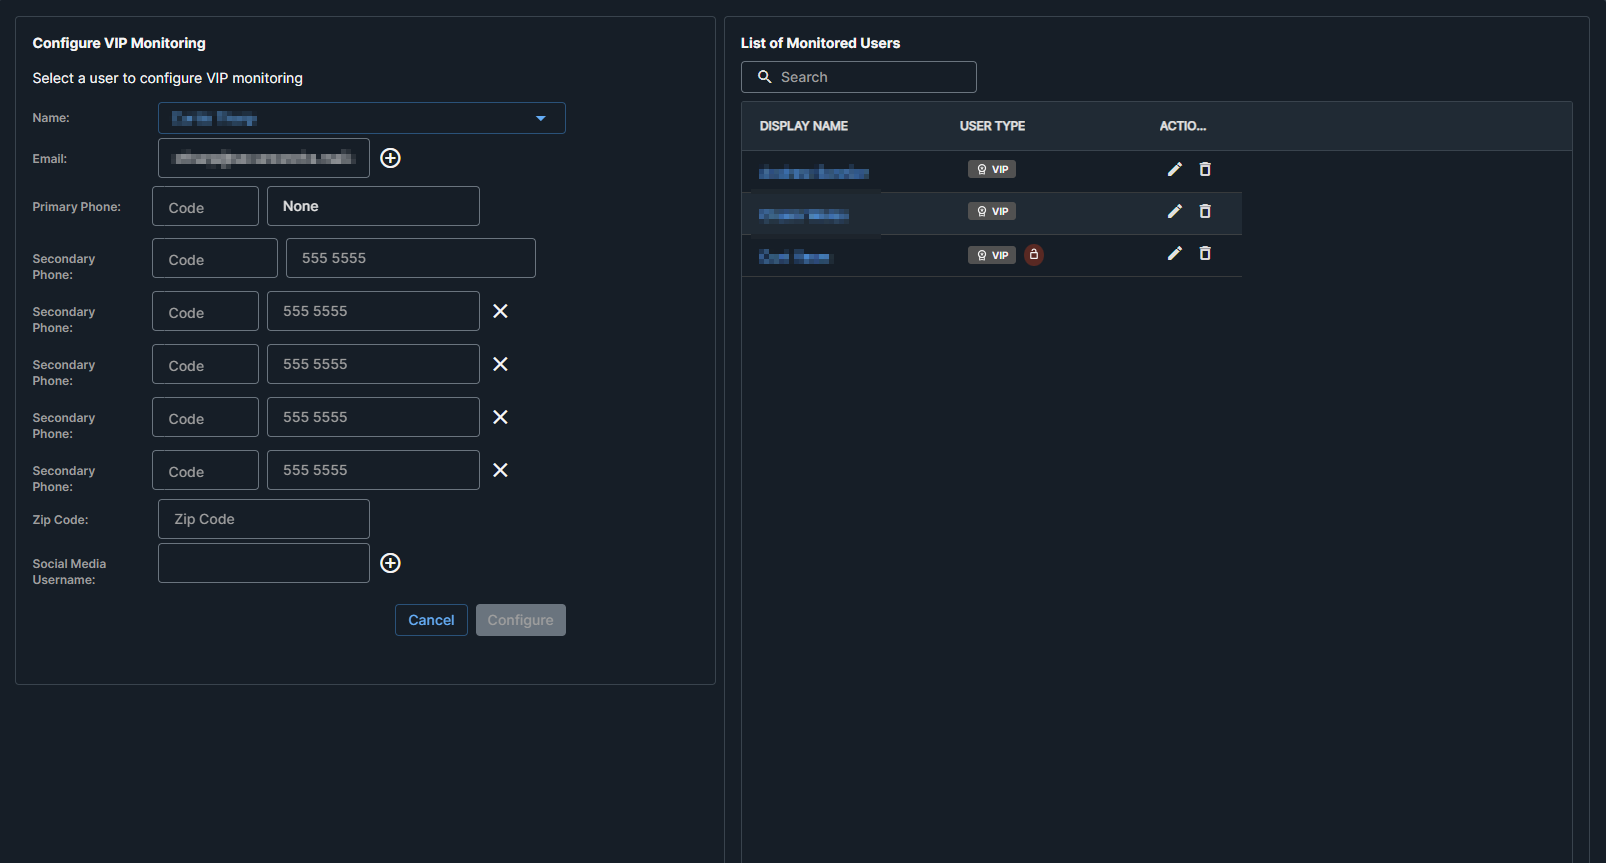
Select Users for VIP Monitoring🔗
The VIP Monitored Users section allows you to select users that you consider very important. The users you select have a VIP tag present throughout IDR to signify their VIP status. VIP monitoring focuses on identifying business-related leaks, mentions, or campaigns against users that include personal email addresses, phone numbers, or social media accounts.
Note
VIP Monitoring is not intended to be a replacement for personal identity monitoring solutions, which often include sensitive PII monitoring and provide notifications when your personal information is found.
To select a user for VIP monitoring, do as follows:
- Click Add User.
- In Configure VIP Monitoring, click the Name menu and select a user.
-
Define the attributes that you want to monitor as follows:
- Enter email addresses to be monitored, such as personal email addresses. Click the Plus icon next to Email to add a maximum of five addresses.
- Enter a primary and secondary phone number. Click the Plus icon to add a maximum of five numbers.
- Enter a zip code.
- Enter a social media username. Click the Plus icon to add a maximum of five usernames.
-
Click Configure.
When you configure a user, we monitor the dark web for the user's attributes along with company names and domains to identify potential business leaks or mentions within the past year.
To edit a VIP user's attributes or delete a user's VIP status, click the Pencil icon or Delete icon in the VIP Monitored Users section.
Posture Check Preferences🔗
The Posture Check Preferences tab is where you can view and configure posture checks within IDR.
Tip
All posture checks are enabled by default.

Filter and Search for Posture Checks🔗
Use the search box and status filters to locate checks of interest.

View Posture Check Details🔗
Select a title within a check card to open the details panel to view more information.
Customize Posture Checks🔗
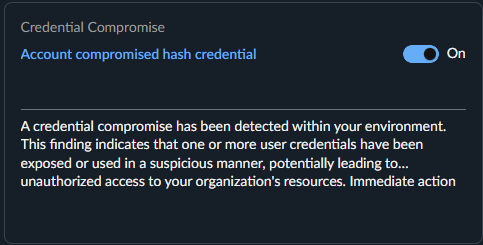
Use the toggle within the check card or the details panel to either enable or disable a posture check. Disabled checks will show who last disabled it and when within the details panel.