Edge Service Installation – VMWare ESXi Web🔗
This article describes how to create a new virtual machine and assign the downloaded Edge Service disk image in VMware ESXi Web.
Important
Ensure you complete each of the following three mandatory sections:
Add the .vmdk File to the ESXi Data Store🔗
Note
If using a vSAN datastore, you may have to convert the vmdk file to stream-optimized. For more information, see the VMware vSphere Upload Files or Folders to vSAN Datastores doc.
- Decompress the received archive with the Edge Service file ending in .vmdk.
-
Log in to your ESXi with administrator privileges and choose a storage device for the Edge to reside.
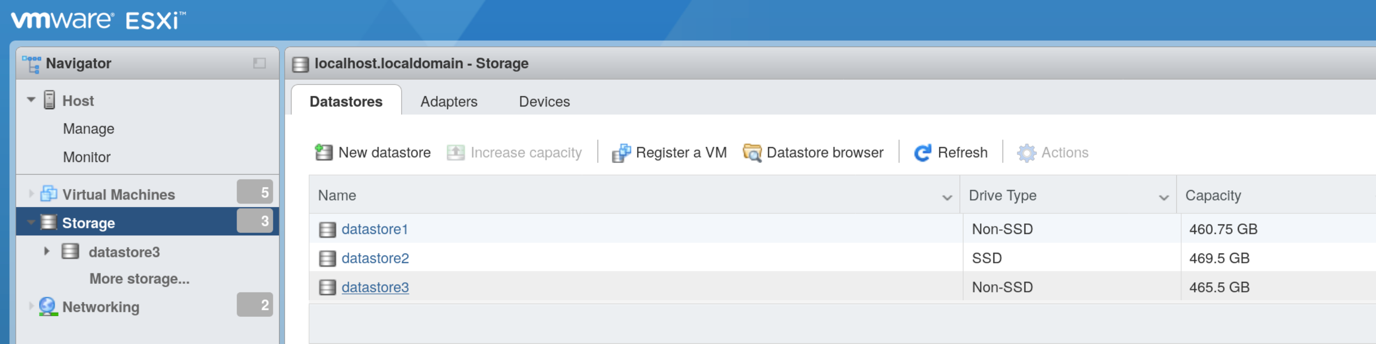
Choose a Storage Device -
Choose the Datastore Browser option.
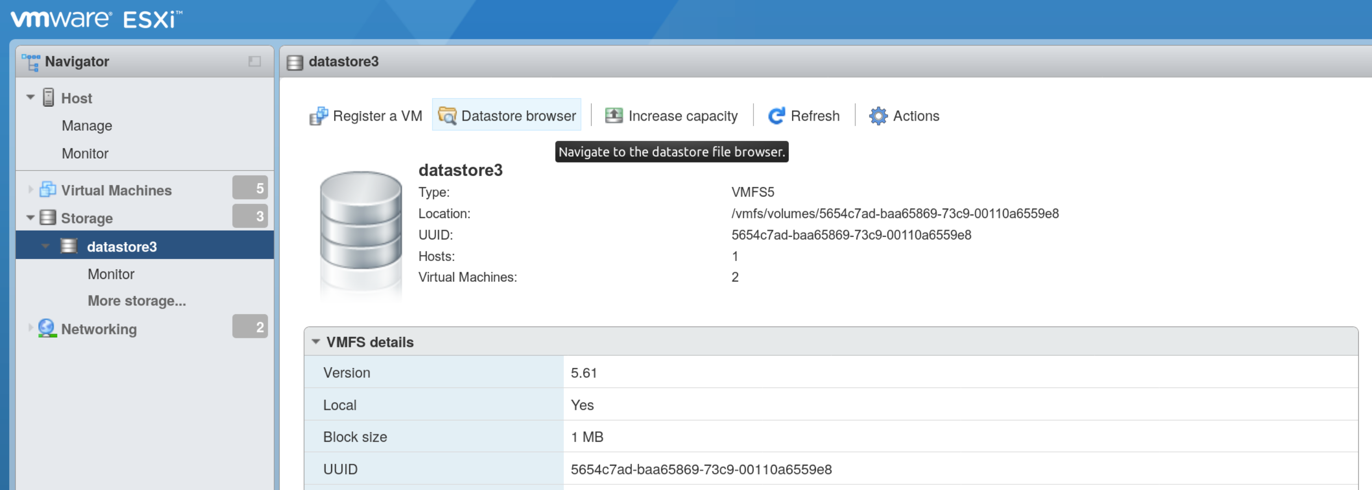
Choose Datastore Browser -
Choose the folder where you will be uploading the downloaded and uncompressed .vmdk Edge Service image, and then select Upload.
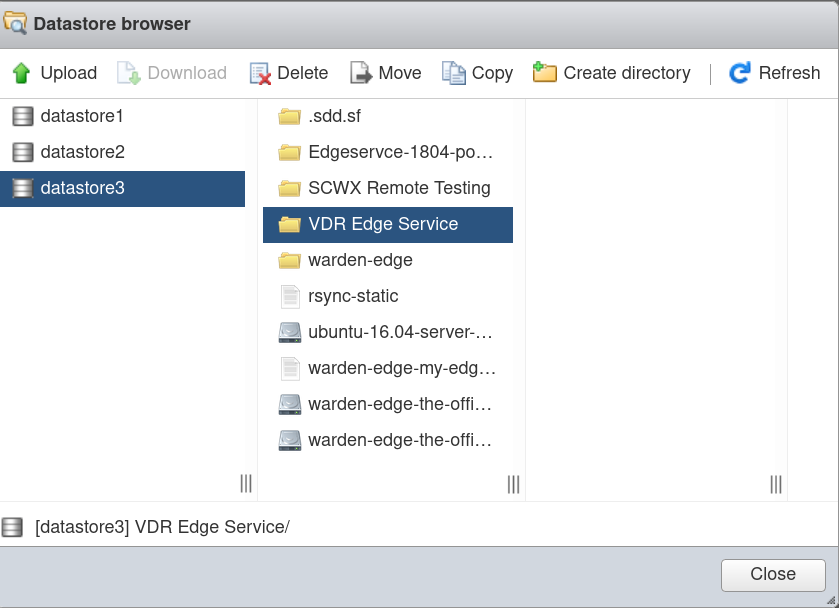
Upload Image -
Select the Secureworks® Taegis™ VDR .vmdk Edge Service image file.
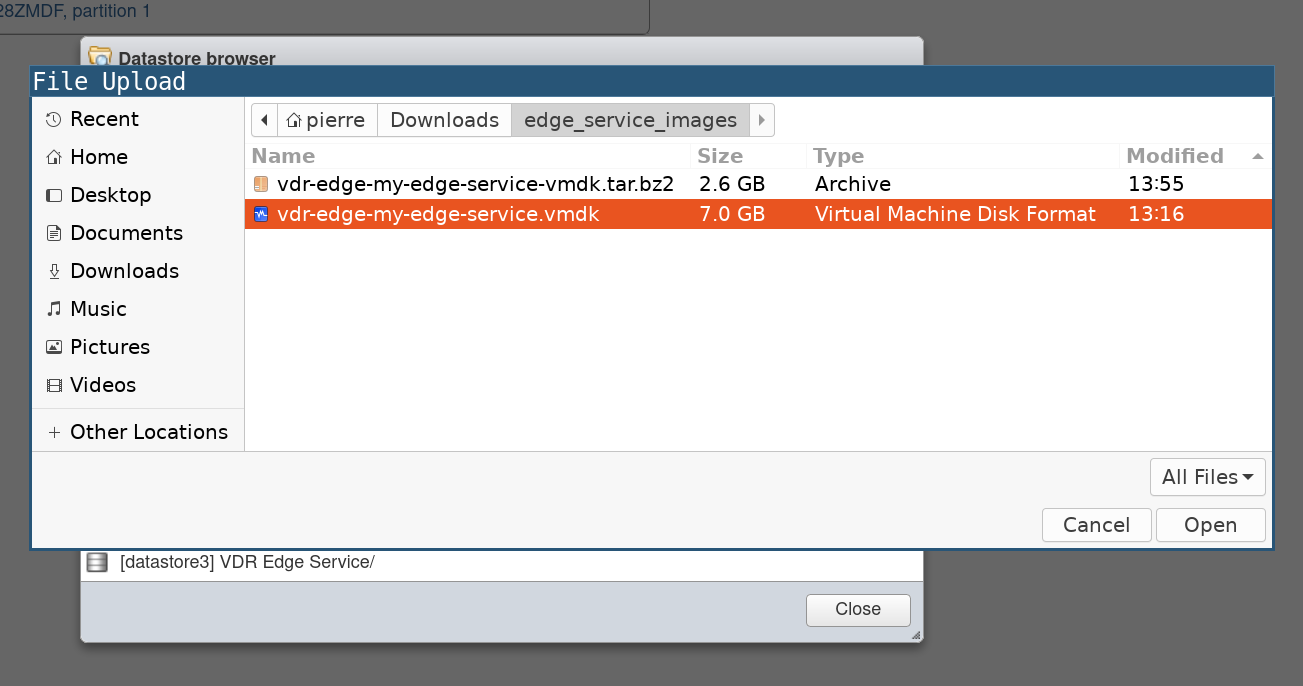
Select Image -
A progress bar appears in the top right; wait for it to finish uploading.
-
The .vmdk image file will appear when the upload is complete.
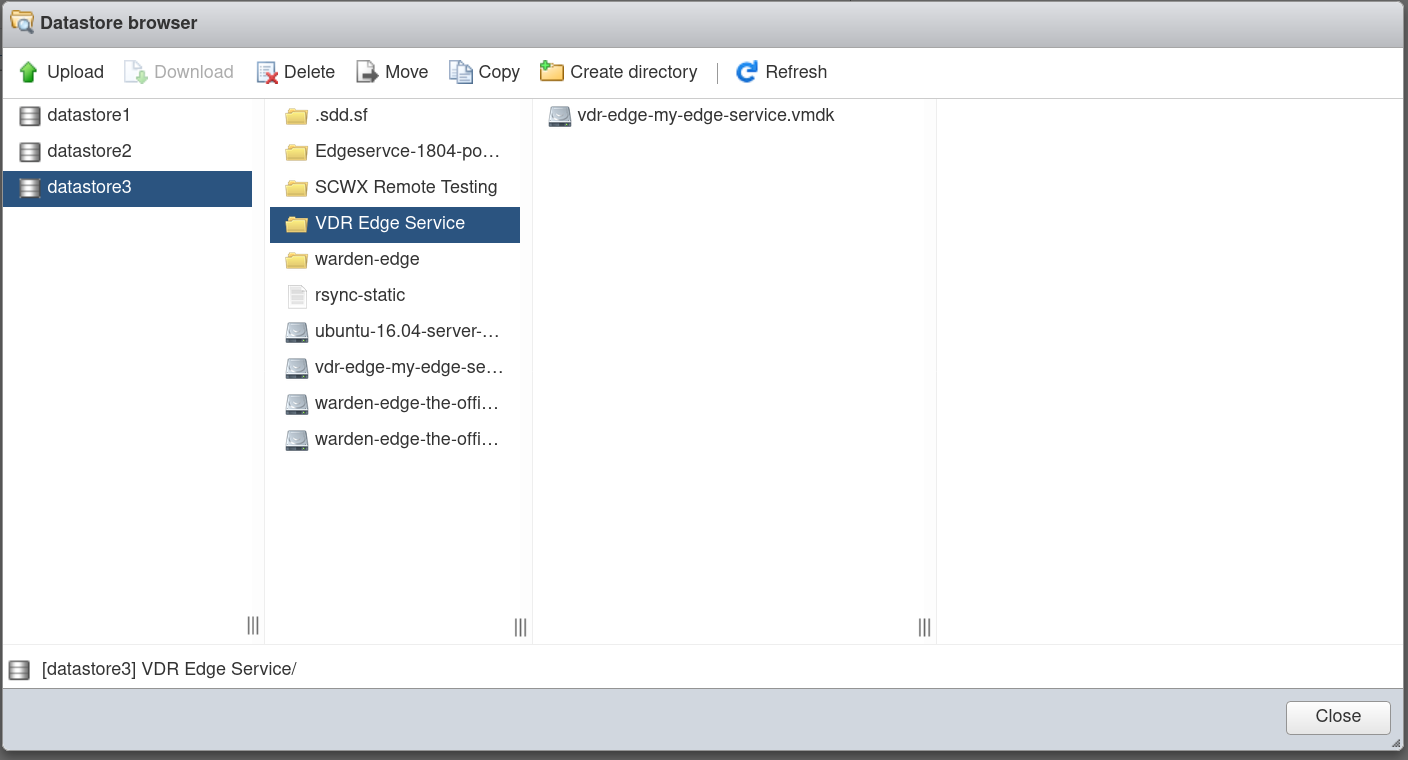
Upload Complete
Convert the Image for Local ESXi Compatibility🔗
Important
The next step is mandatory for the image to work on ESXi.
-
Connect to your ESXi via SSH, or if your VMWare has the option, open a terminal window in the web interface.
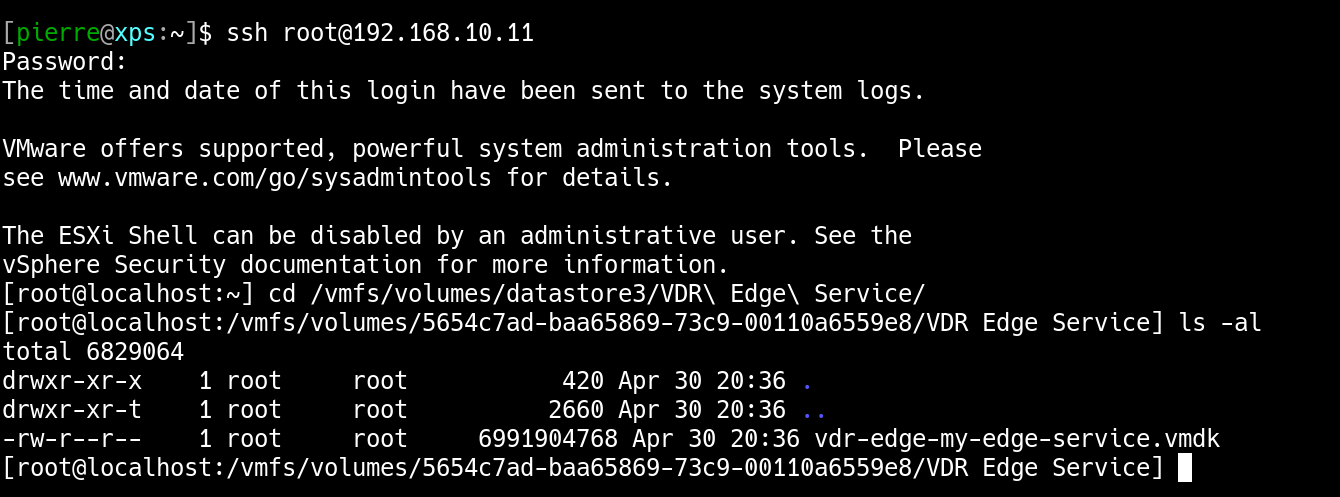
Connect ESXi -
Change directory to where you have uploaded the .vmdk image file; for example:
cd /vmfs/volumes/datastore3/VDR\ Edge\ Service/. - Make sure you see the original file using
ls -land that it is the correct image. -
"Thin" the .vmdk image with VMware conversion tool; the general command works as follows:
vmkfstools -i <uploaded_image.vmdk> -d thin <new_image_THIN.vmdk>Example:
vmkfstools -i vdr-edge-my-edge-service.vmdk -d thin vdr-edge-my-edge-service-THIN.vmdk -
Wait for the
Clone: 100% done.to return to the prompt, indicating that the conversion is completed.
Create the Virtual Machine and Link it to the Converted Image🔗
-
Go back to the web interface and, in the Virtual Machines section, choose Create / Register VM.
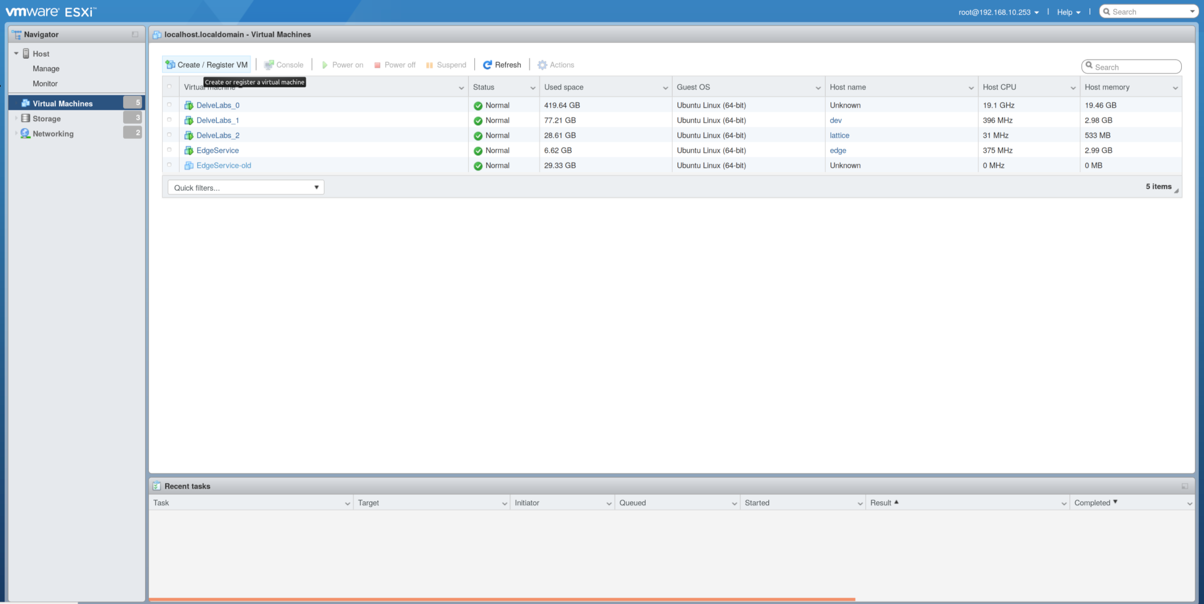
Create/Register VM -
Choose the Create a new virtual machine option and select Next.
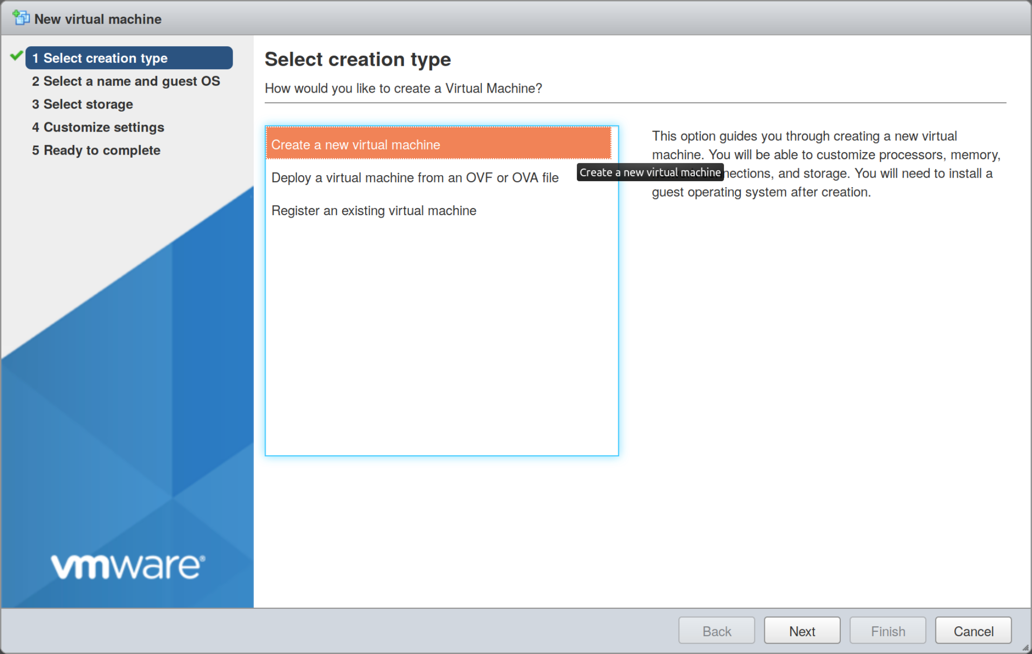
Create New Virtual Machine -
Give your machine a name and Compatibility option, usually ESXi 6.5 virtual machine. Also choose the Guest OS family to be Linux and version to be Ubuntu Linux (64-bit), and then select Next.
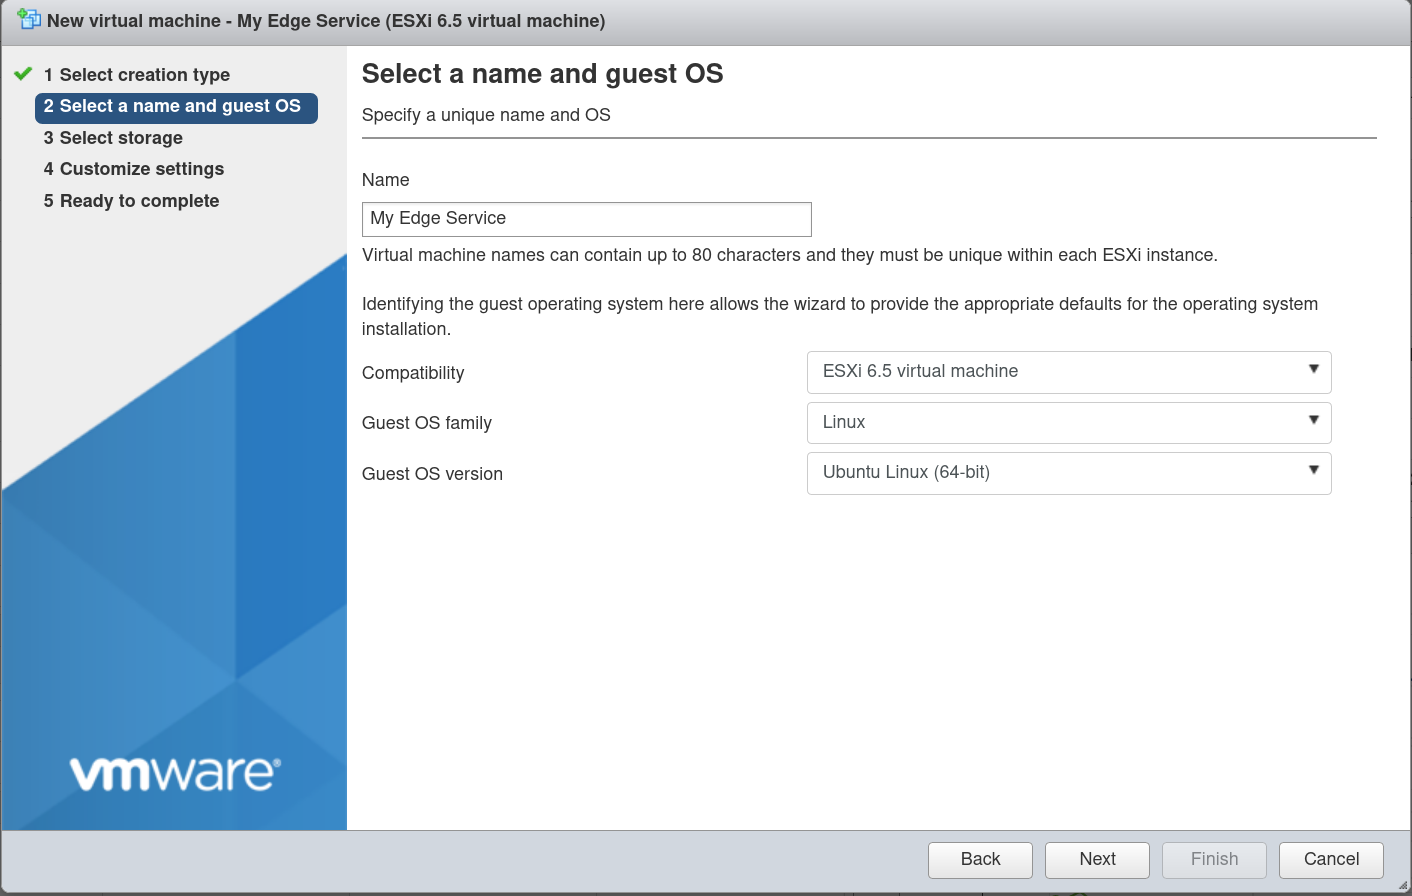
Select Name and Guest OS -
Select the storage from which the VM will run (here datastore3) and then choose Next.
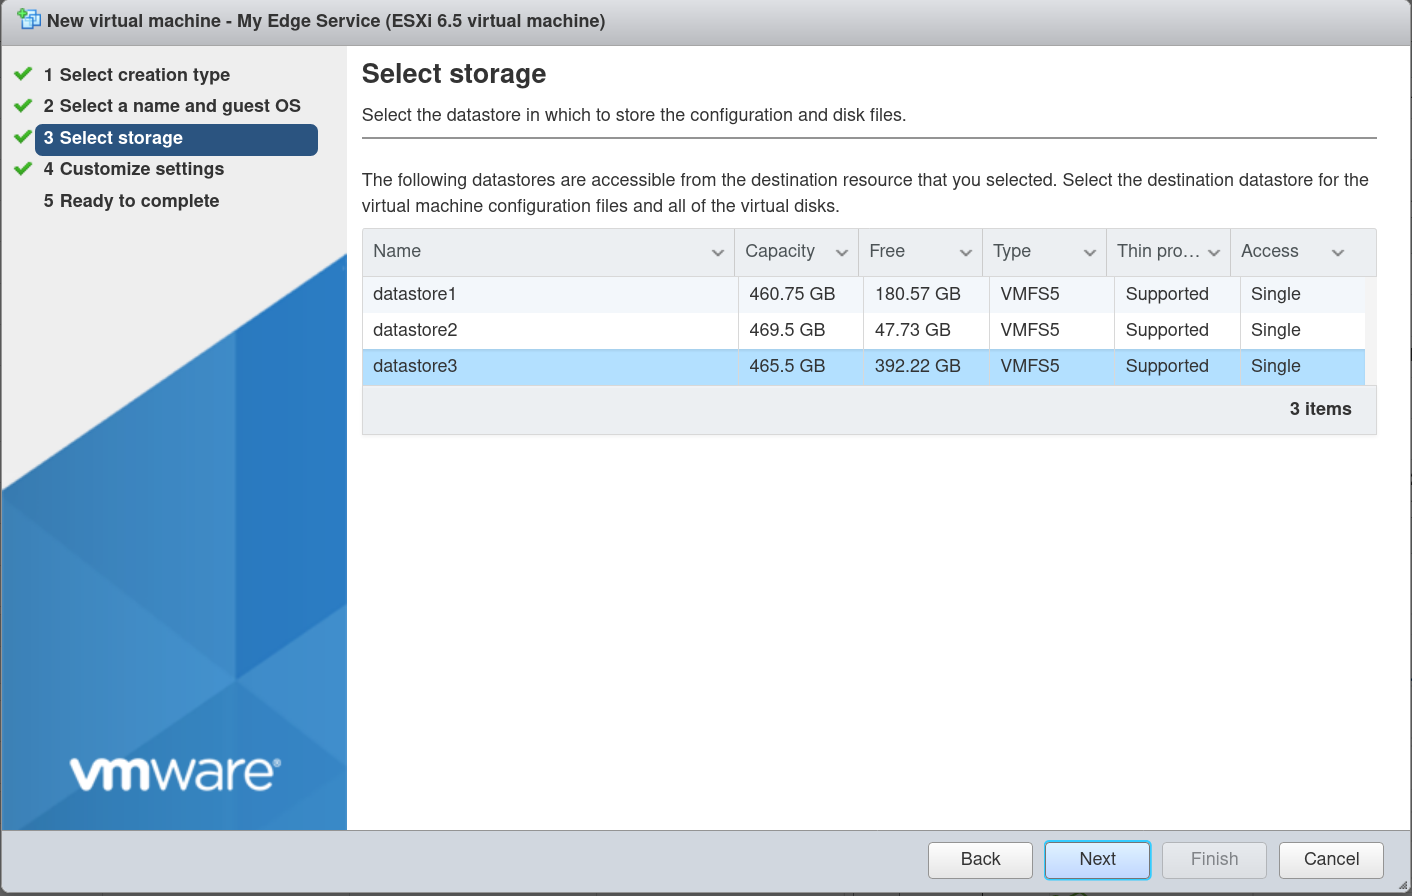
Select Storage -
Make sure the VM has 2 to 4 virtual CPU and 8GB of RAM.

Customize Settings -
Delete the default Hard disk 1 by selecting the right side (X) button.
-
Once deleted, choose the Add hard disk menu and select Existing hard disk.
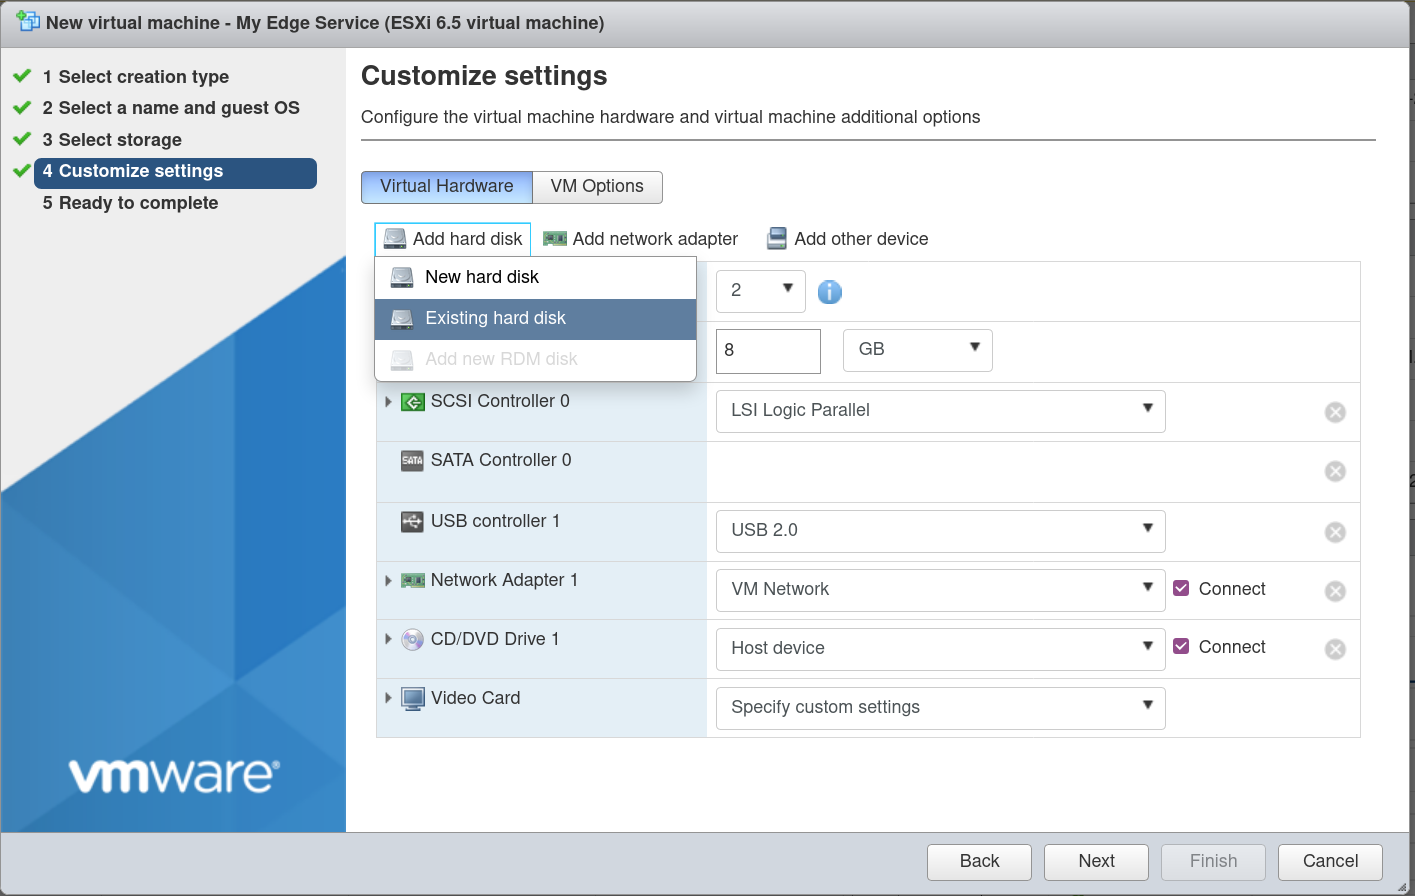
Add Hard Disk -
Browse to where you had converted the uploaded image to "thin" format and select the newly converted image:
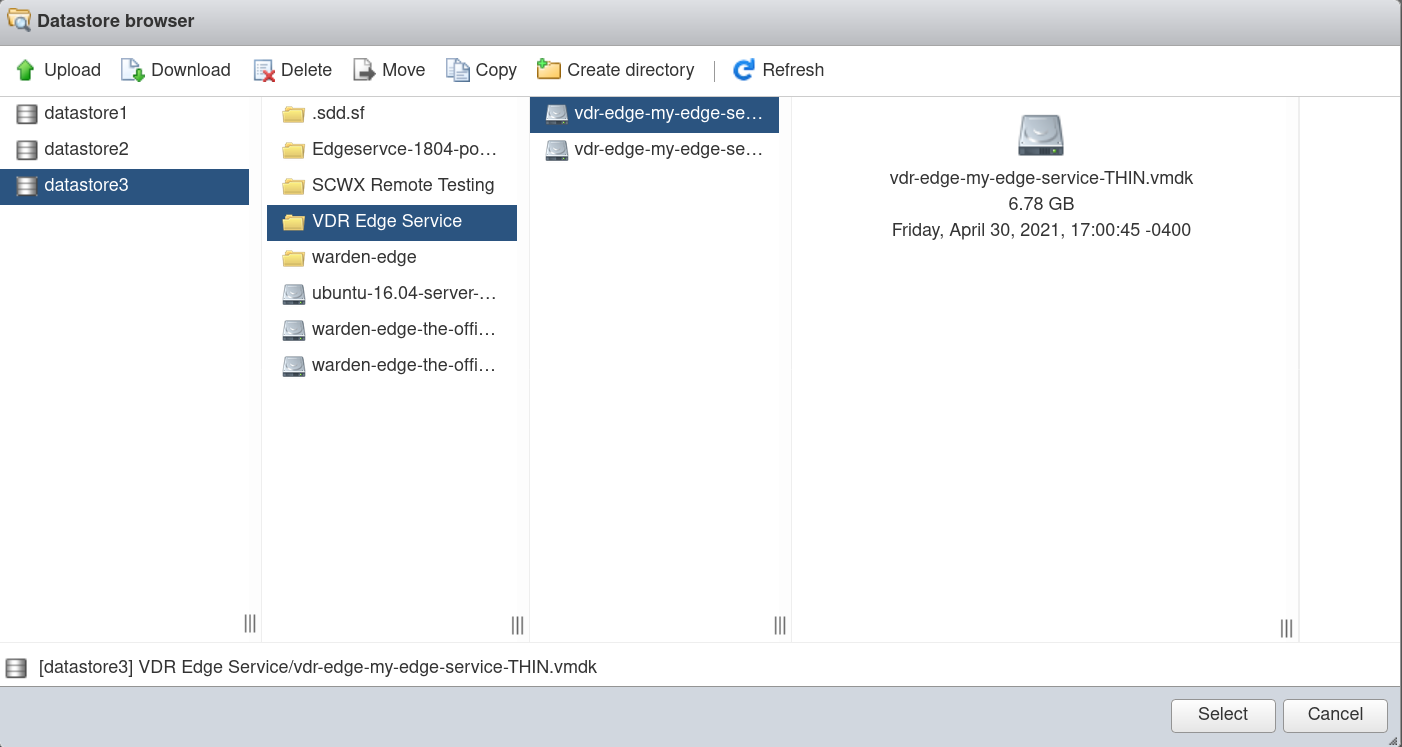
Select Thin Image -
The hard disk now shows something like the following screen shot. Make sure the SCSI Controller 0 has the LSI Logic Parallel option selected, and then select Next.
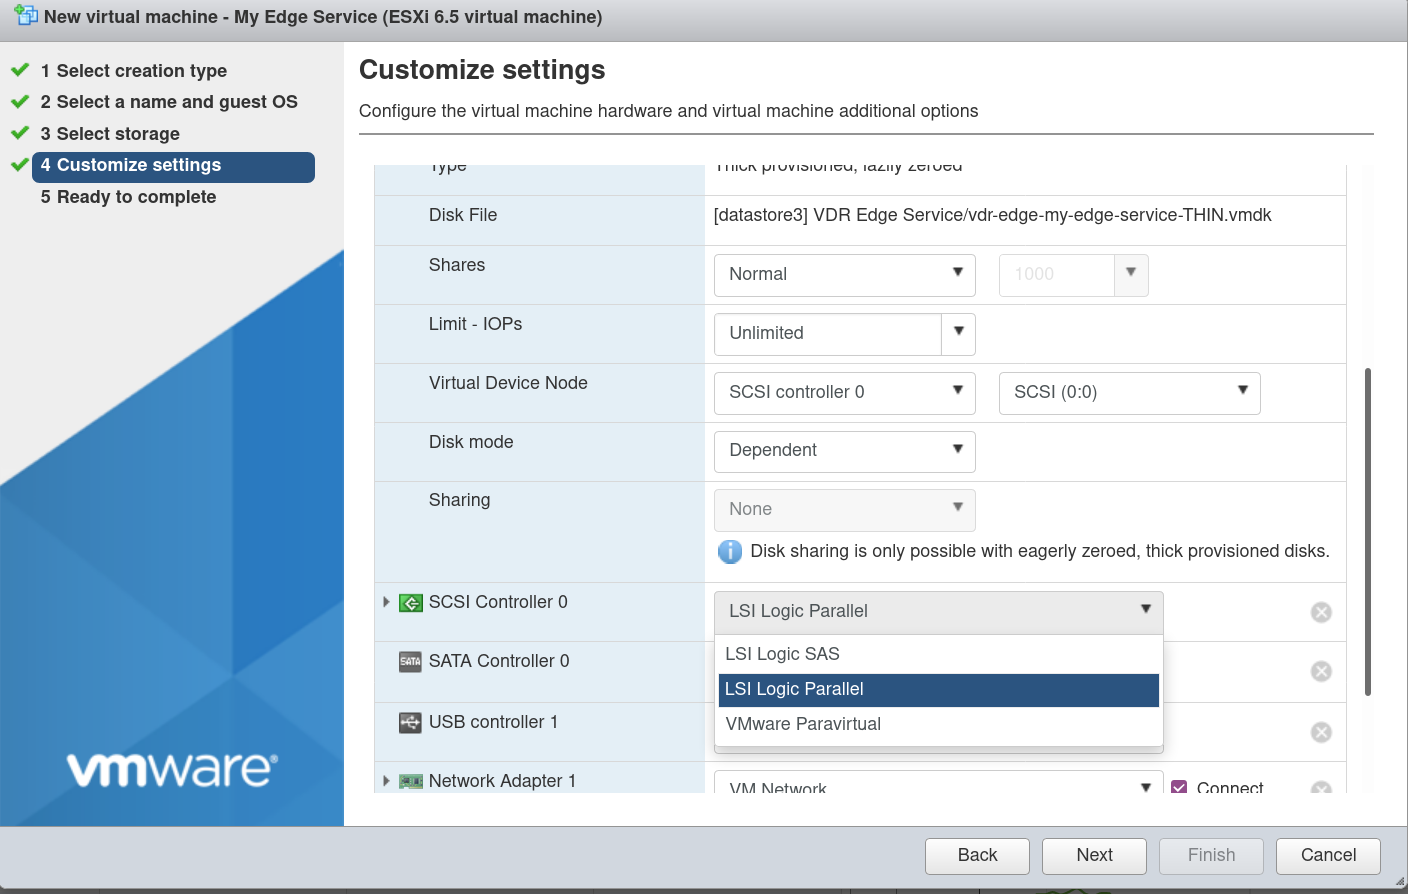
SCSI Controller -
The final screen should summarize the import information and look somewhat like the following. Review and then select Finish.
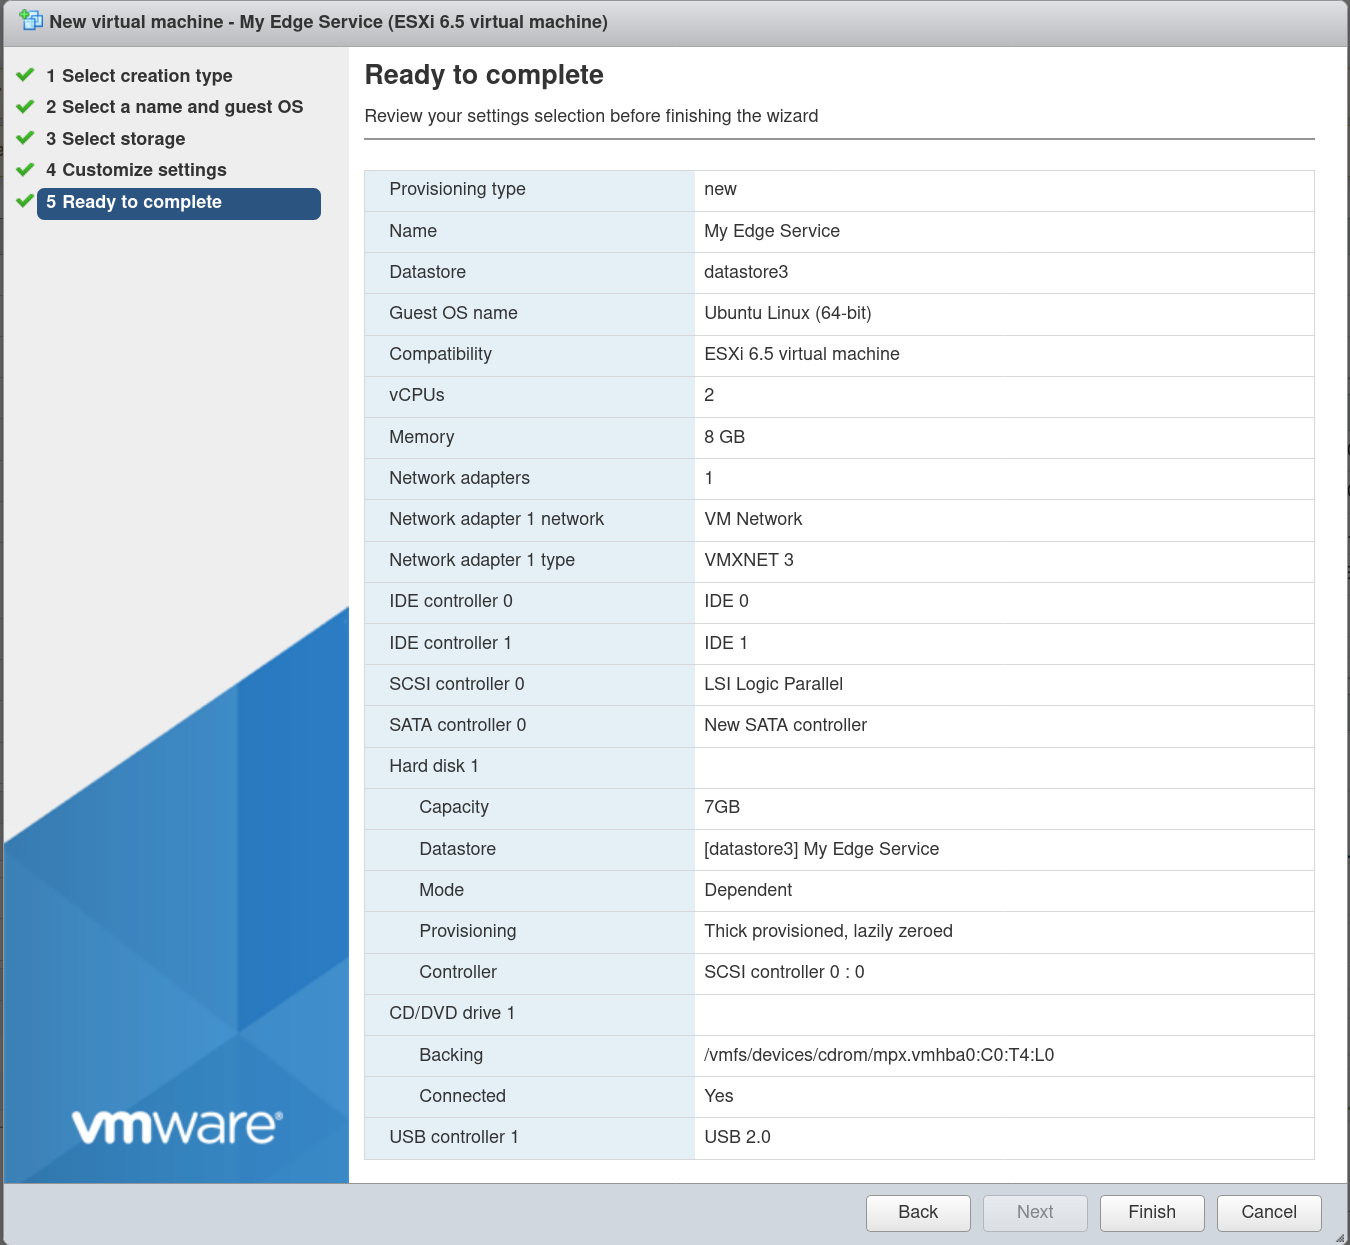
Ready to Complete -
Select the newly imported VM from the Virtual Machines section, choose the Power On or Play button, and then wait for the VM to boot.
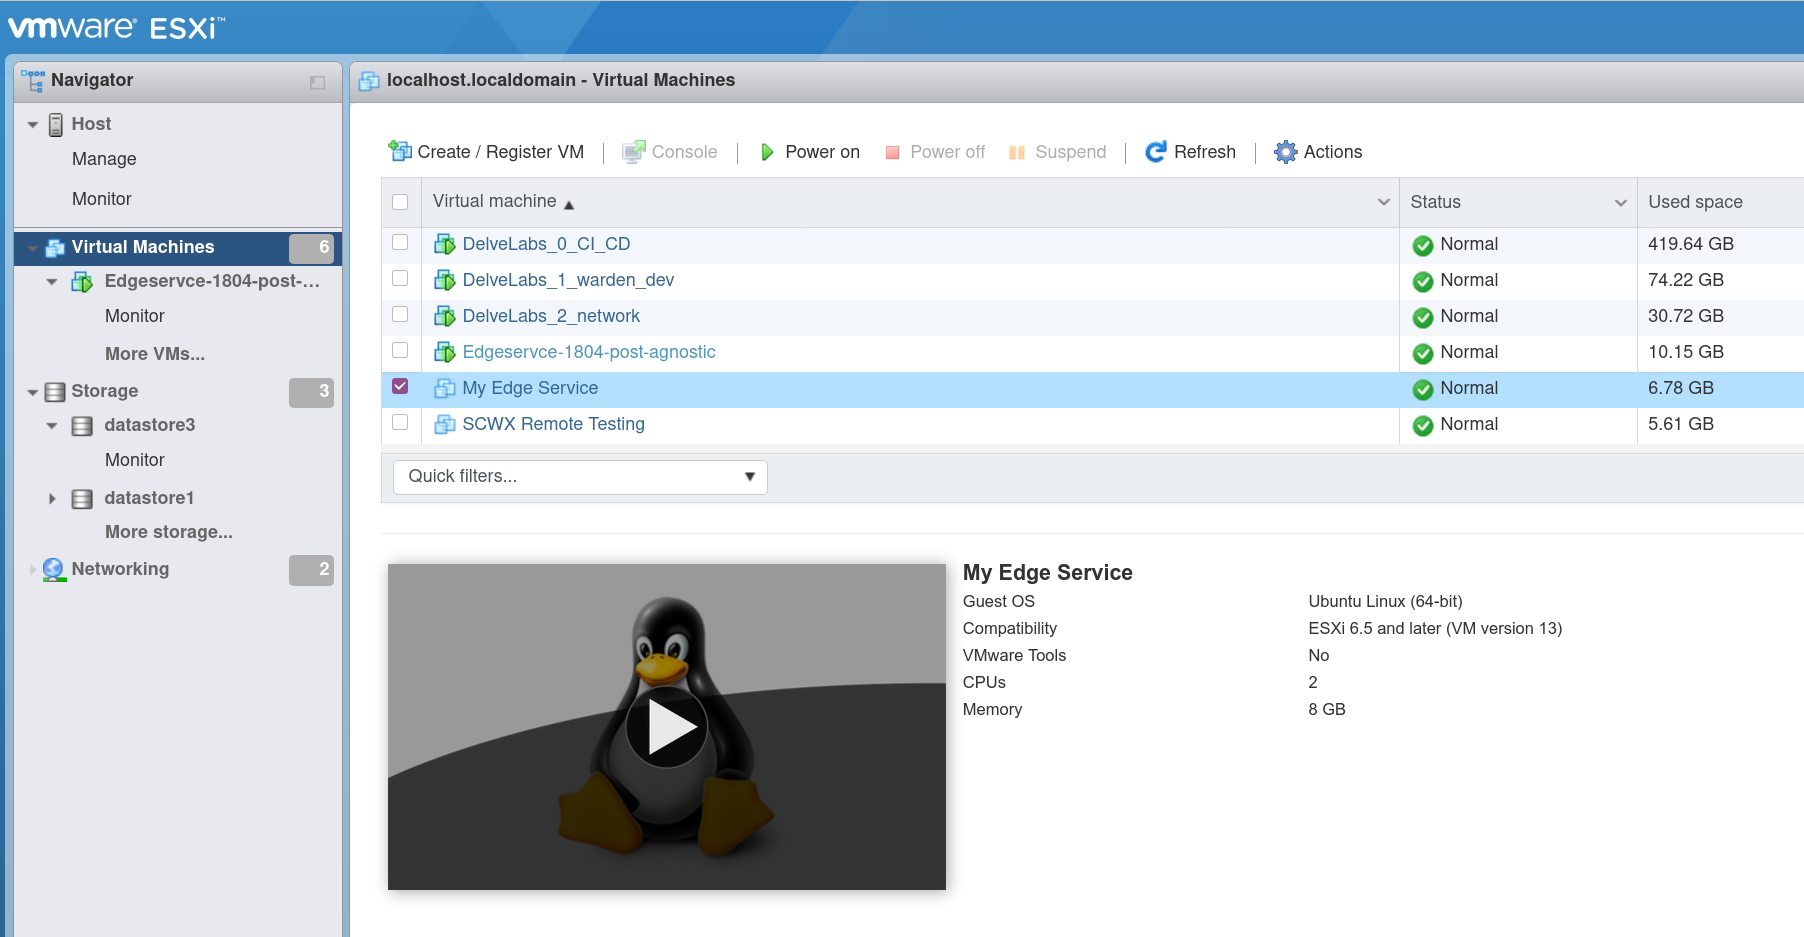
Power on VM -
If successful, you should see the VM boot log messages.
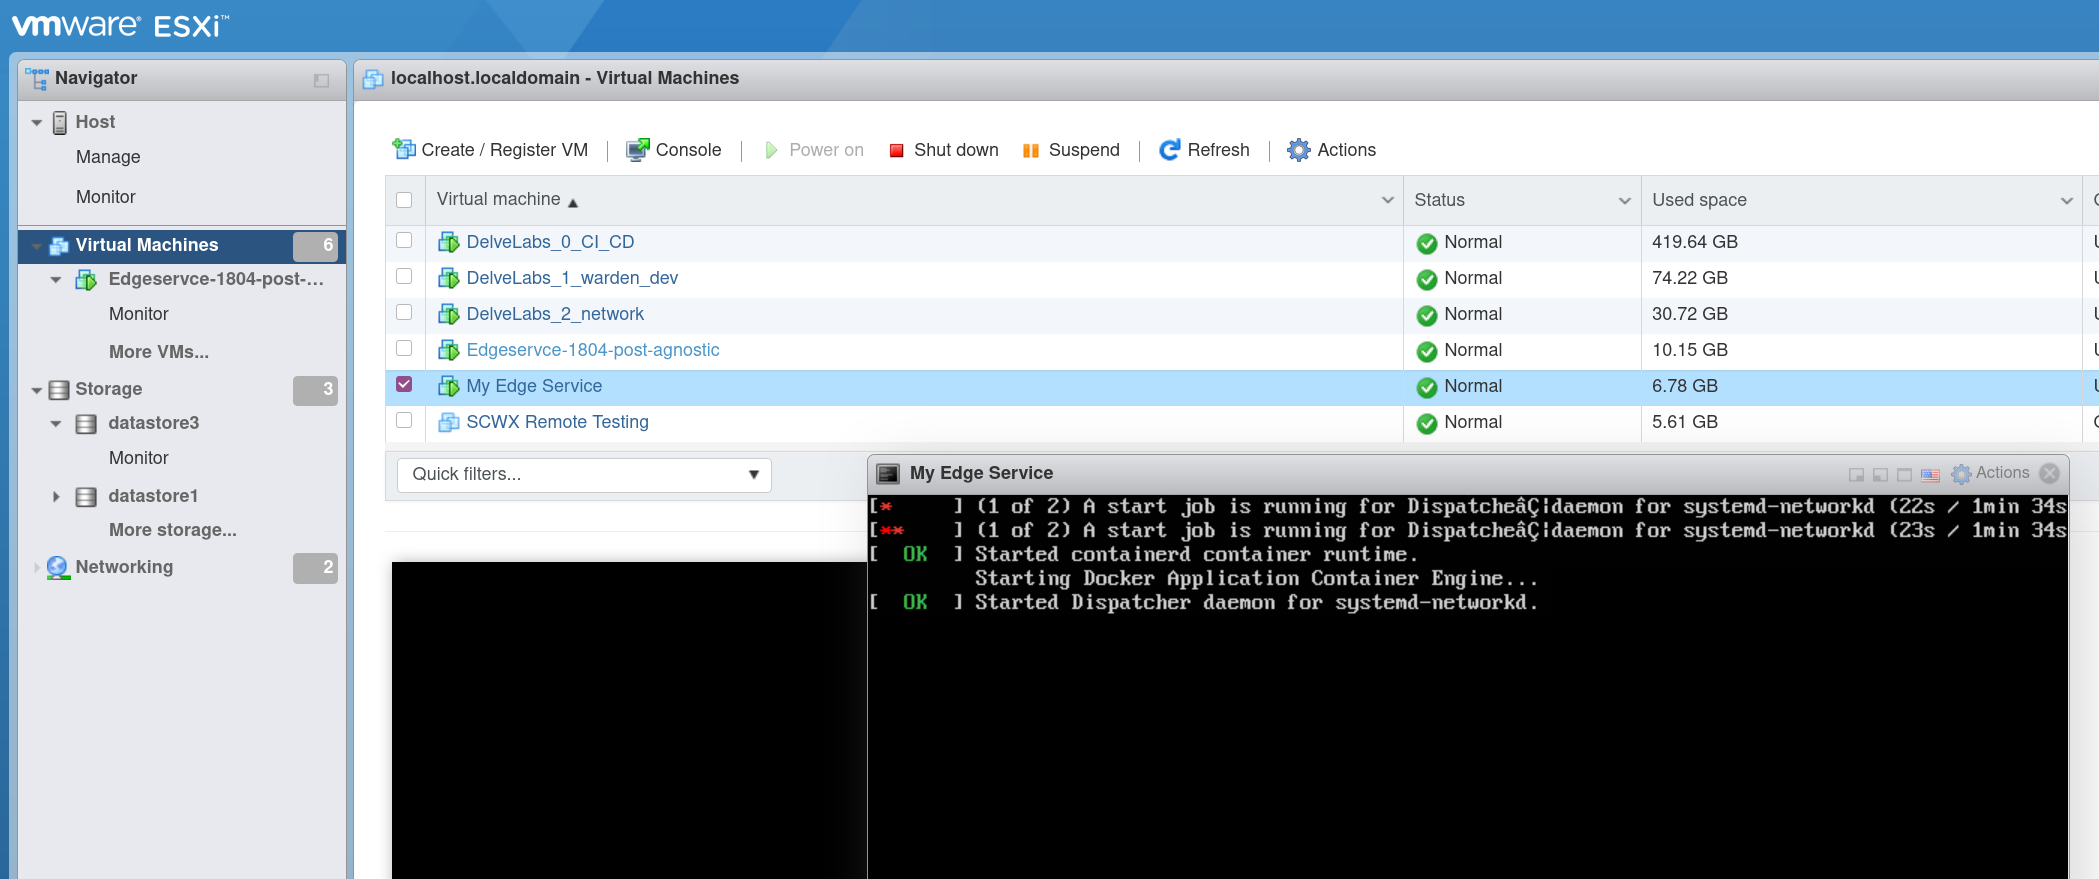
VM Booting
Optional Step: Configure the Edge Service (Configuration Only with Generic VM Image)🔗
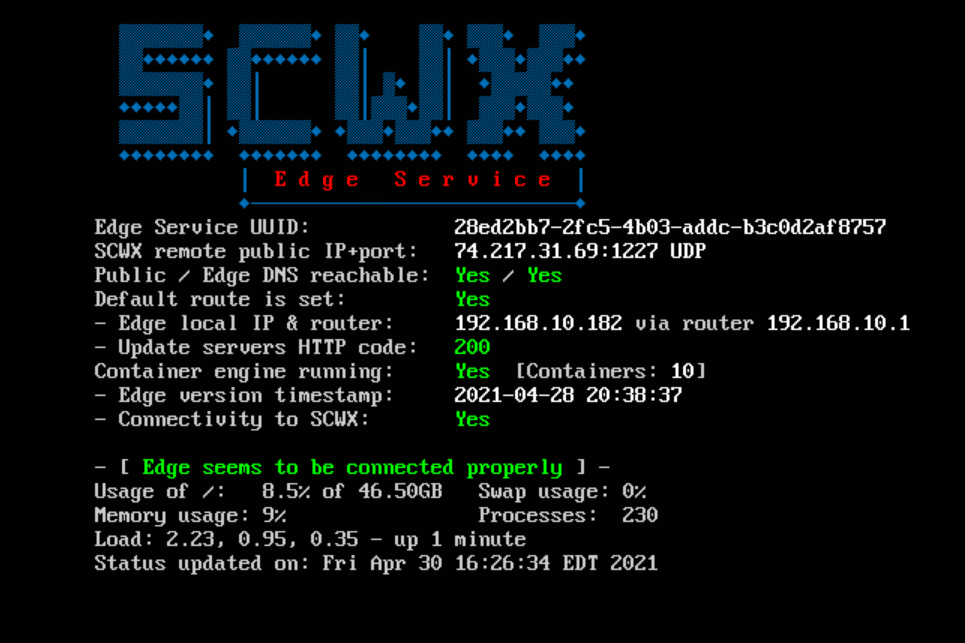
Verify the Edge Service is Running Appropriately🔗
At this point, the Edge Service is running and you have successfully finished the installation. You can close the window and let it run.
Tip
You could also modify the auto-start options for that VM to make sure it restarts when your VMWare is rebooted for updates, etc.