Microsoft Graph Security API Alerts v2 Integration Guide🔗
The following instructions are for configuring an integration of Microsoft Graph Security API Alerts v2 logs to facilitate ingestion into Secureworks® Taegis™ XDR. For more information, see the Microsoft Graph Security API Overview.
Prerequisites🔗
The Microsoft Graph Security API Alerts v2 integration uses the Alerts v2 (Alerts and incidents) endpoint, which retrieves alerts from the Microsoft Defender XDR unified alert system. For alerts to be ingested into XDR, the alerts must first be visible in the Microsoft Defender unified alert experience.
Microsoft Defender Unified Alerts Required
Before configuring this integration, ensure that:
- Your tenant has access to the Microsoft Defender portal and alerts are visible under Incidents & alerts → Alerts.
- Each Microsoft security workload that should produce alerts—such as Defender for Endpoint, Defender for Office 365, Defender for Identity, Defender for Cloud Apps, Defender for Cloud, and Entra ID Protection—is onboarded to Microsoft Defender XDR and generating alerts in the Defender portal.
Alerts from providers that are not integrated with Microsoft Defender XDR will not appear in the alerts_v2 API and therefore will not be ingested into XDR through this integration. This is a Microsoft architectural requirement, not an XDR limitation.
If alerts are not appearing as expected after the integration is configured, see Microsoft Graph Security API Alerts v2 Troubleshooting.
Security Alerts from Graph Security API Alerts v2 Endpoint🔗
Microsoft has implemented security analysis across many different products. XDR retrieves those Microsoft alerts in real time and presents them in XDR as detections.
These alerts include those from:
- Microsoft Entra ID Protection
- Microsoft 365 Defender
- Microsoft Defender for Cloud Apps
- Microsoft Defender for Endpoint
- Microsoft Defender for Identity
- Microsoft Defender for Office 365
- Microsoft Purview Data Loss Prevention
- Microsoft Purview Insider Risk Management
Alerts are ingested using the Microsoft REST APIs on a polling basis, with new data being requested every minute. For information on data availability, see Office 365 and Azure Data Availability.
Note
XDR relays alerts provided by the Graph Security API. This does not include the raw telemetry needed to provide enrichment, context, and propriety analytics. Alert-only integration does provide single pane of glass views but does not include the information required for deep analysis. Where possible, it is preferred to add integrations where supporting telemetry for alerts is available.
The availability of these security products depends on which Microsoft subscriptions and licensing you have and what you have authorized XDR to access. For more information about Microsoft Defender product licensing requirements, see Microsoft Defender XDR prerequisites.
Note
Some alerts originating from Office 365 may appear in data from both the O365 Management and MS Graph Security.
Data Provided from Integration🔗
| Normalized Data | Out-of-the-Box Detections | Vendor-Specific Detections | |
|---|---|---|---|
| MS Graph Security API Alerts v2 | Antivirus, CloudAudit, Email, Thirdparty |
Microsoft Graph Security API Alerts v2 Integration Instructions🔗
Register an Application in Azure🔗
-
Register an application in the Azure portal.
- Name — Any descriptive string
- Supported account types — Accounts in this organizational directory only
Note
Record the following values as they are used to create the integration in XDR:
- Directory (tenant) ID
- Application (client) ID
-
Configure application permissions. Add the following permissions:
SecurityAlert.Read.All(application permission)SecurityIncident.Read.All(application permission, optional)User.Read(permission automatically delegated to MS Graph)
Note
SecurityIncident.Read.Allis optional. XDR does not currently ingest Microsoft Defender incident data, so this permission can be safely omitted. Incident ingestion may be added in a future release; granting this permission now ensures incident data is available without re-running the admin consent flow at that time.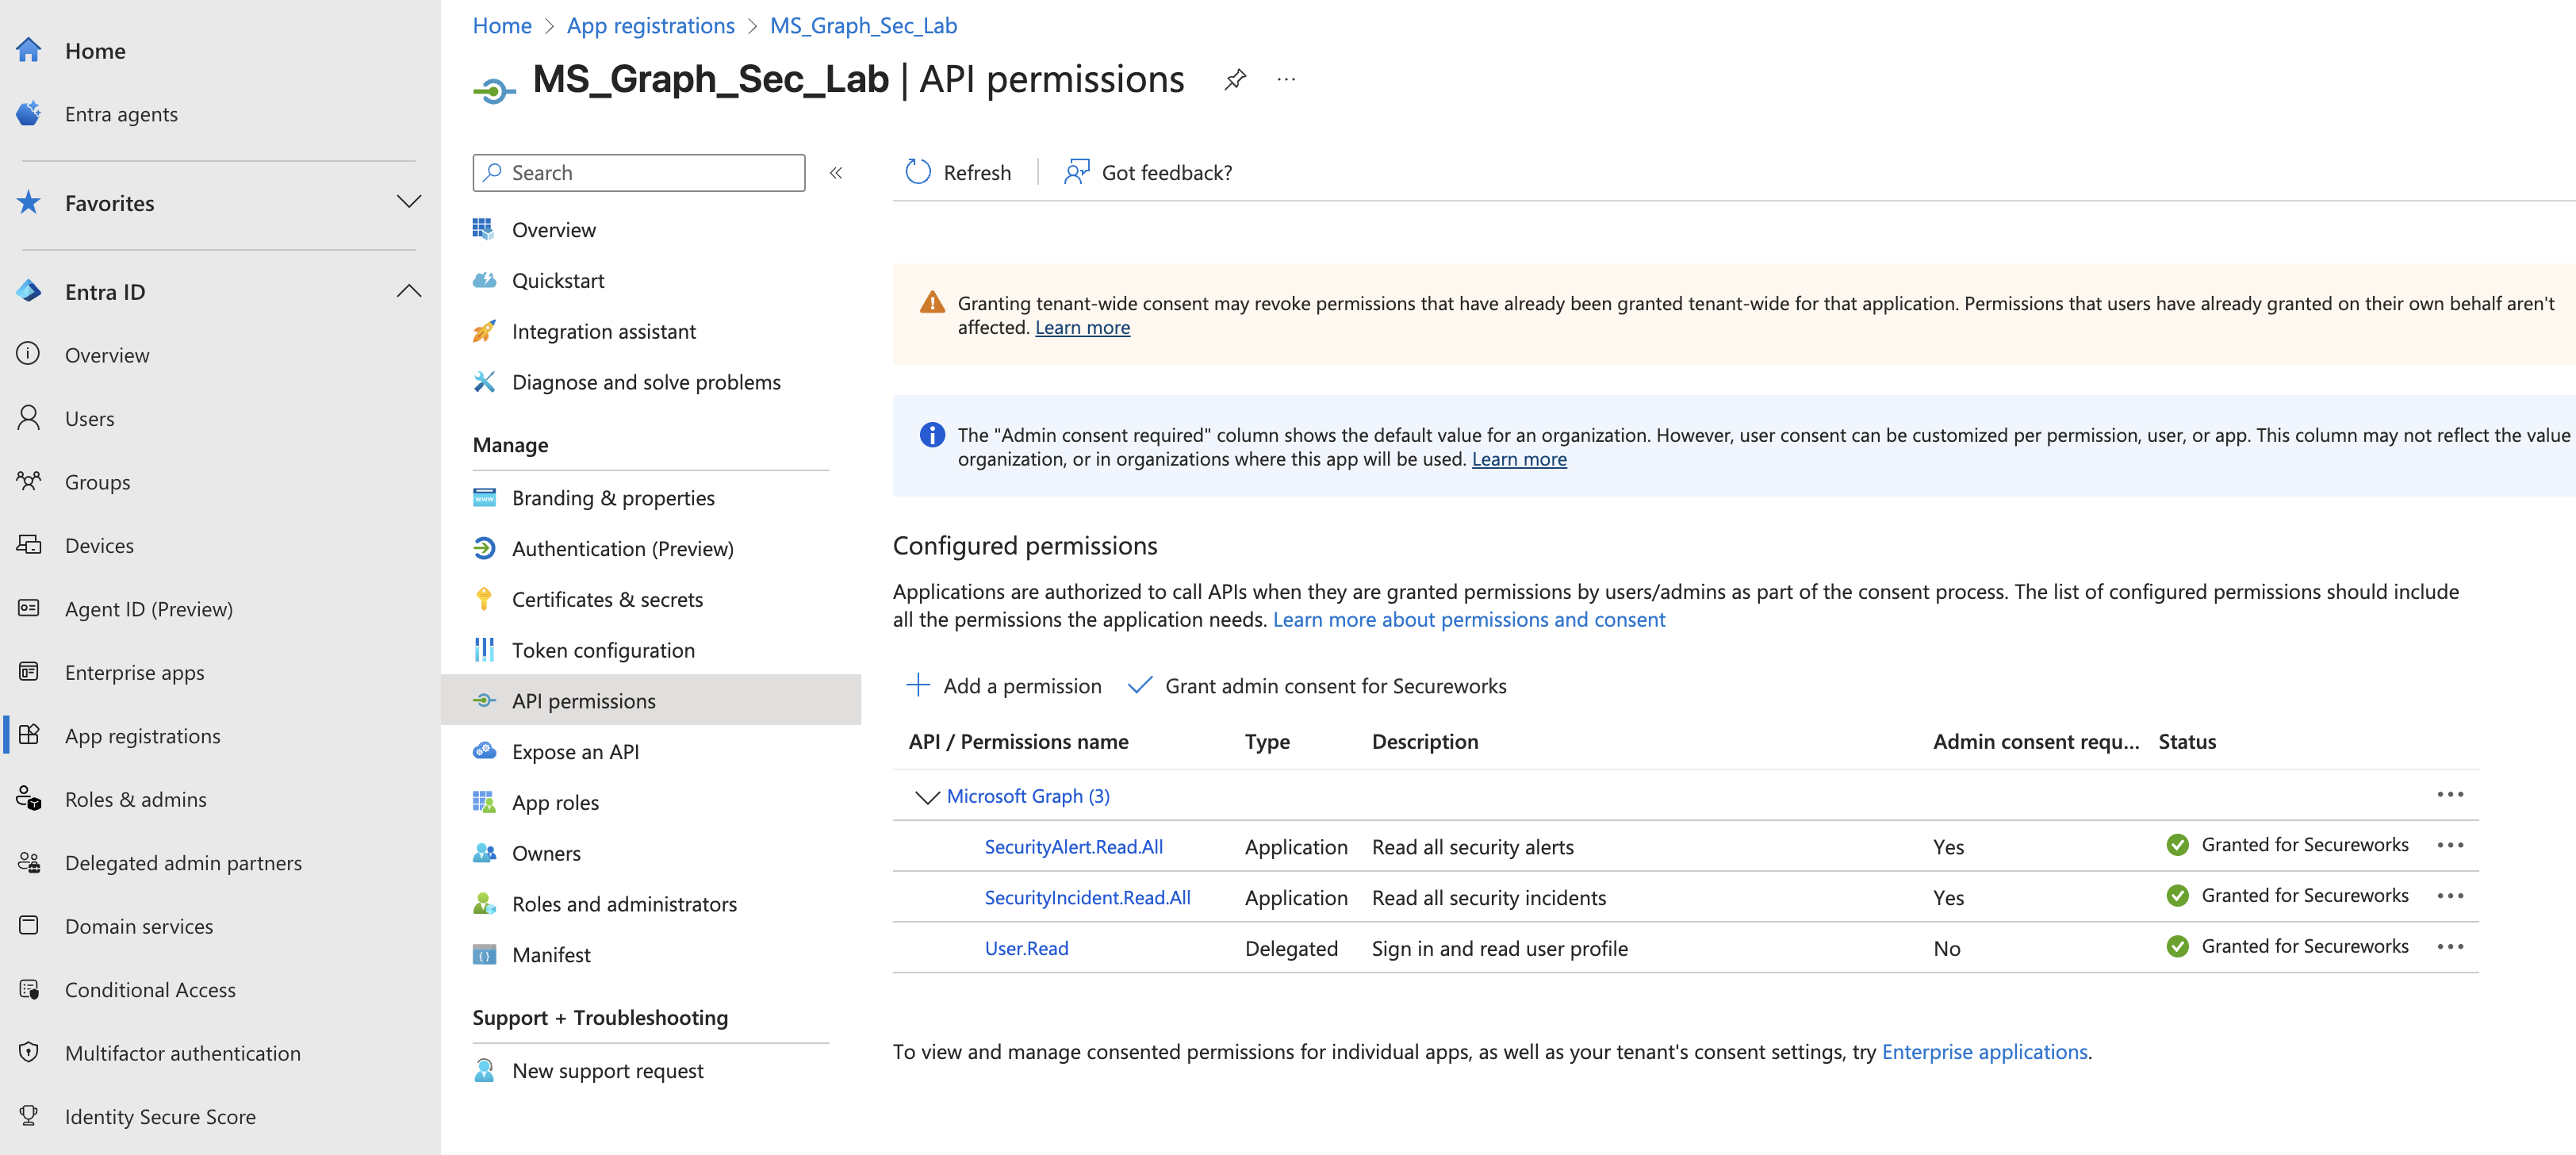
API Permissions -
Click Grant admin consent for <Azure tenant name>.
-
Provide credentials for the application by uploading a certificate.
Important
Certificates will expire and need to be renewed both with Microsoft Entra ID and with XDR to allow for continued functionality before their expiration date.
Important
XDR supports ONLY the Privacy-Enhanced Mail (PEM) format. More information on the PEM format can be found in RFC 7468.
Encrypted keys and client secrets are NOT supported.
The integration requires an RSA key. Per RFC 7518 §3.3, RS256 JWT signing requires keys of at least 2048 bits; 3072 bits is recommended for new deployments. ECDSA and other key algorithms are NOT supported, even though Microsoft Entra ID may accept them.
Note
Self-signed certificates are supported.
Use one of the following commands to generate a self-signed PEM (.pem extension) certificate using PowerShell or OpenSSL:
# Prompt user for input
$certname = Read-Host -Prompt "Enter certificate name"
$keyname  = Read-Host -Prompt "Enter key name"
$location = Read-Host -Prompt "Enter location"

# Generate a self-signed certificate in the current user's certificate store
$cert = New-SelfSignedCertificate `
    -Subject           "CN=$certname" `
    -CertStoreLocation "Cert:\CurrentUser\My" `
    -KeyExportPolicy   Exportable `
    -KeySpec           Signature `
    -KeyLength         3072 `
    -KeyAlgorithm      RSA `
    -HashAlgorithm     SHA256

# Helper: format raw bytes as a standard PEM block (Base64, wrapped at 64 chars)
function ConvertTo-PemBlock {
    param([string]$Header, [byte[]]$Bytes)
    $b64 = [Convert]::ToBase64String($Bytes) -replace '.{64}', "$&`n"
    "-----BEGIN $Header-----`n$($b64.TrimEnd())`n-----END $Header-----`n"
}

# Export certificate as PEM
$certPem = ConvertTo-PemBlock -Header 'CERTIFICATE' -Bytes $cert.RawData
Set-Content -Path "$location\$certname.pem" -Value $certPem -NoNewline

# Export private key as unencrypted PKCS#8 PEM
$rsa    = [System.Security.Cryptography.X509Certificates.RSACertificateExtensions]::GetRSAPrivateKey($cert)
$keyPem = ConvertTo-PemBlock -Header 'PRIVATE KEY' -Bytes $rsa.ExportPkcs8PrivateKey()
Set-Content -Path "$location\$keyname.pem" -Value $keyPem -NoNewline

Write-Host "Files located at: $location"
pause
Note
Copy and paste the preceding code into a text file, save the file with a .ps1 extension (e.g., CertGen.ps1), and run the script using PowerShell.
Add Integration in XDR🔗
- From the Taegis Menu, go to Integrations → Cloud APIs.
-
Click Add an Integration from the top of the page.

Add an Integration -
From the Optimized tab, click Office 365/Azure.
Create the Integration -
Choose Set Up under Graph Security API Alerts v2.
- Enter a name for the integration. This can be any string.
- Enter the Tenant ID and the Application Client ID from Step 1 in the Register an Application in Azure section.
- Upload the certificate and its associated private key.
- Select Done to complete the integration with XDR.
-
If this is your first integration using MS Graph V2 Alerts and incidents, you might need to provision the alerts service with Microsoft Defender to avoid authorization issues.
In the Microsoft Defender web portal, go to Investigation & response > Incidents & alerts > Alerts. You may see the message below. Provisioning may take an hour. You can then view new alerts and the alerts service will work.
For more information, see the Microsoft Q&A.
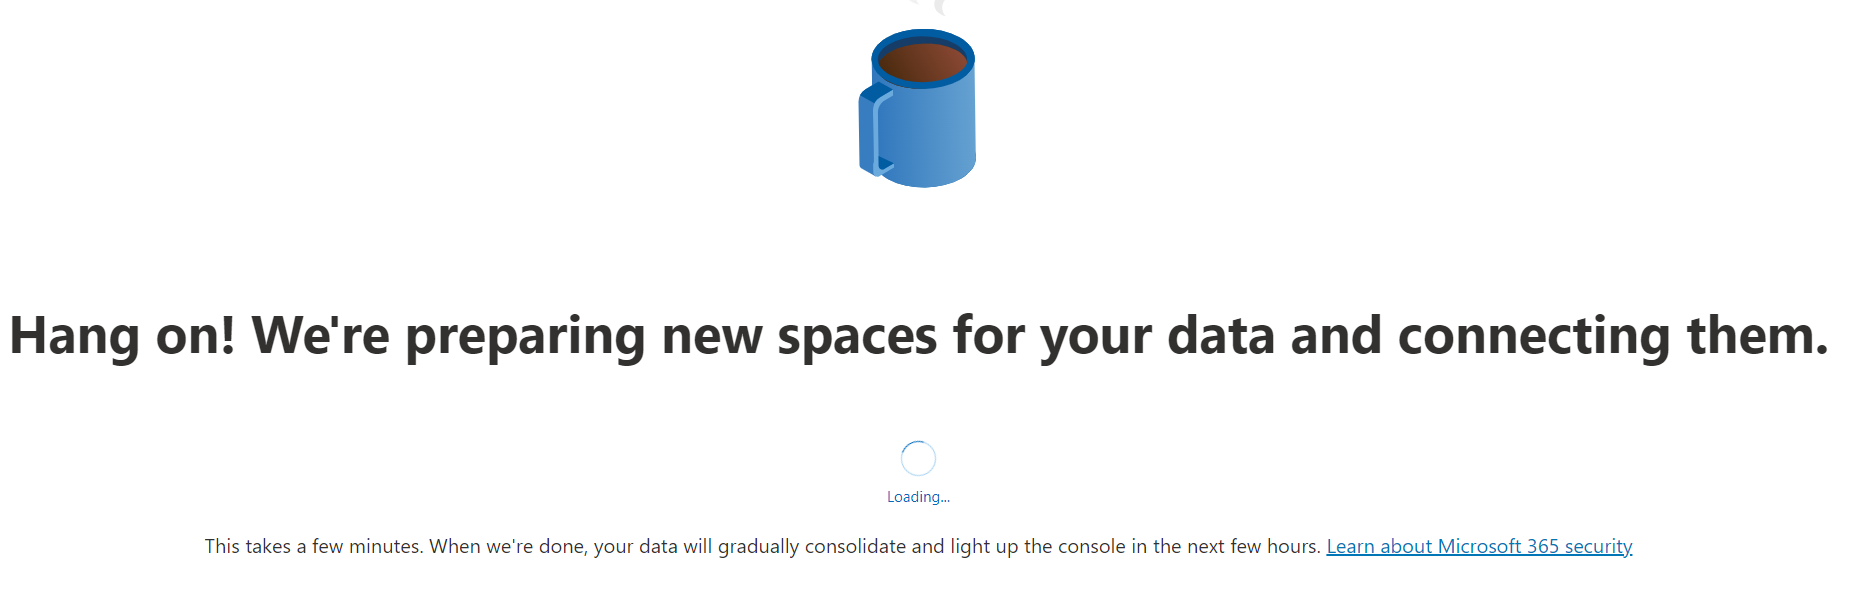
Provisioning in Progress
Advanced Search Using the Query Language🔗
Distinguishing Graph Security v1 and v2 Events🔗
To search for all Graph Security v2 events:
where ingest.product.name = 'GRAPH_ALERTS' and ingest.product.version = 'v2'
To search for all Graph Security v1 events:
where ingest.product.name = 'GRAPH_ALERTS' and ingest.product.version = 'Legacy'
Troubleshooting🔗
If alerts visible in the Microsoft Defender portal are not appearing in XDR, or if alerts ingested through the legacy Graph Security API v1 are not appearing in v2 results, see Microsoft Graph Security API Alerts v2 Troubleshooting.