Set up SAML2 SSO with Azure AD🔗
Please contact us first if you wish to enable SSO, and then follow the simple procedure below.
Initial Configuration🔗
-
In Azure, select Azure Active Directory from the left side menu.
Azure Active Directory -
From the left pane, choose Enterprise Applications.
Enterprise Applications -
Choose Non-gallery application from the options.
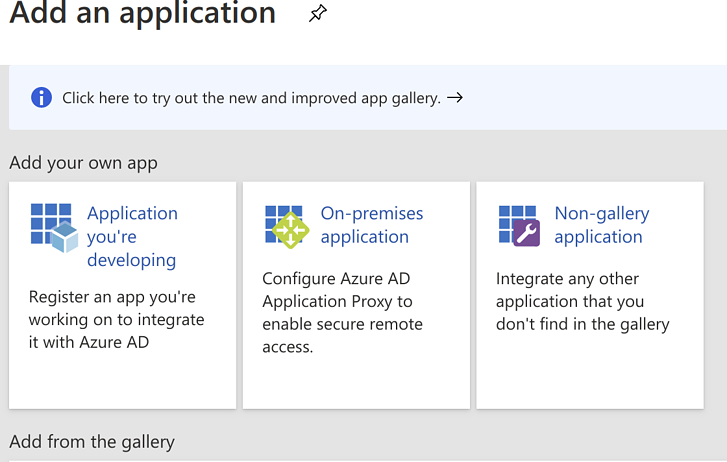
Non-gallery Application -
Enter any name you wish for the application; for this example we used VDR SSO.
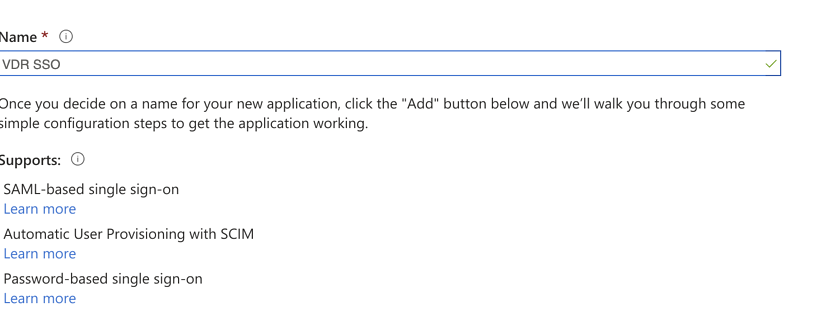
Application Name -
Select Assign users and groups. Add and assign at least one user that matches an existing account e-mail on Secureworks® Taegis™ VDR.
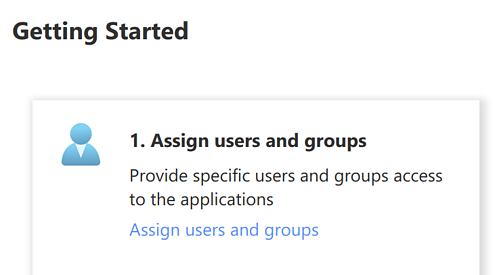
Assign Users and Groups 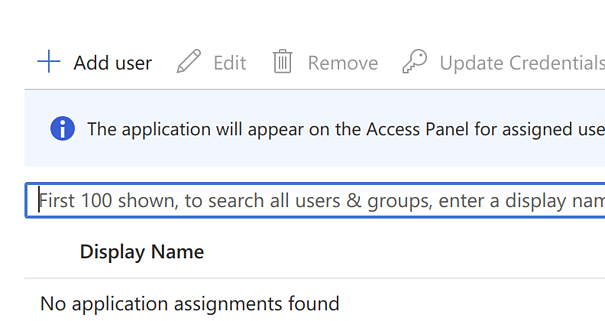
Assign at Least One User
SSO Setup🔗
You can now set up the SSO. To do this, follow these steps:
-
Select Set up single sign on in the application main page.
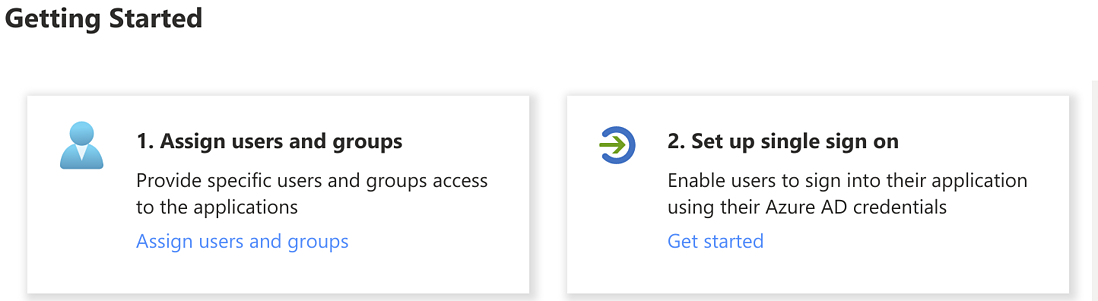
Set up SSO -
Choose the SAML option.
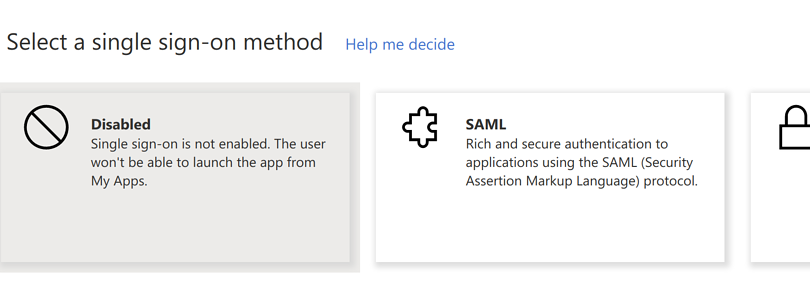
Choose SAML -
Enter the Entity ID and the Reply URL. The Reply URL will be provided by VDR.
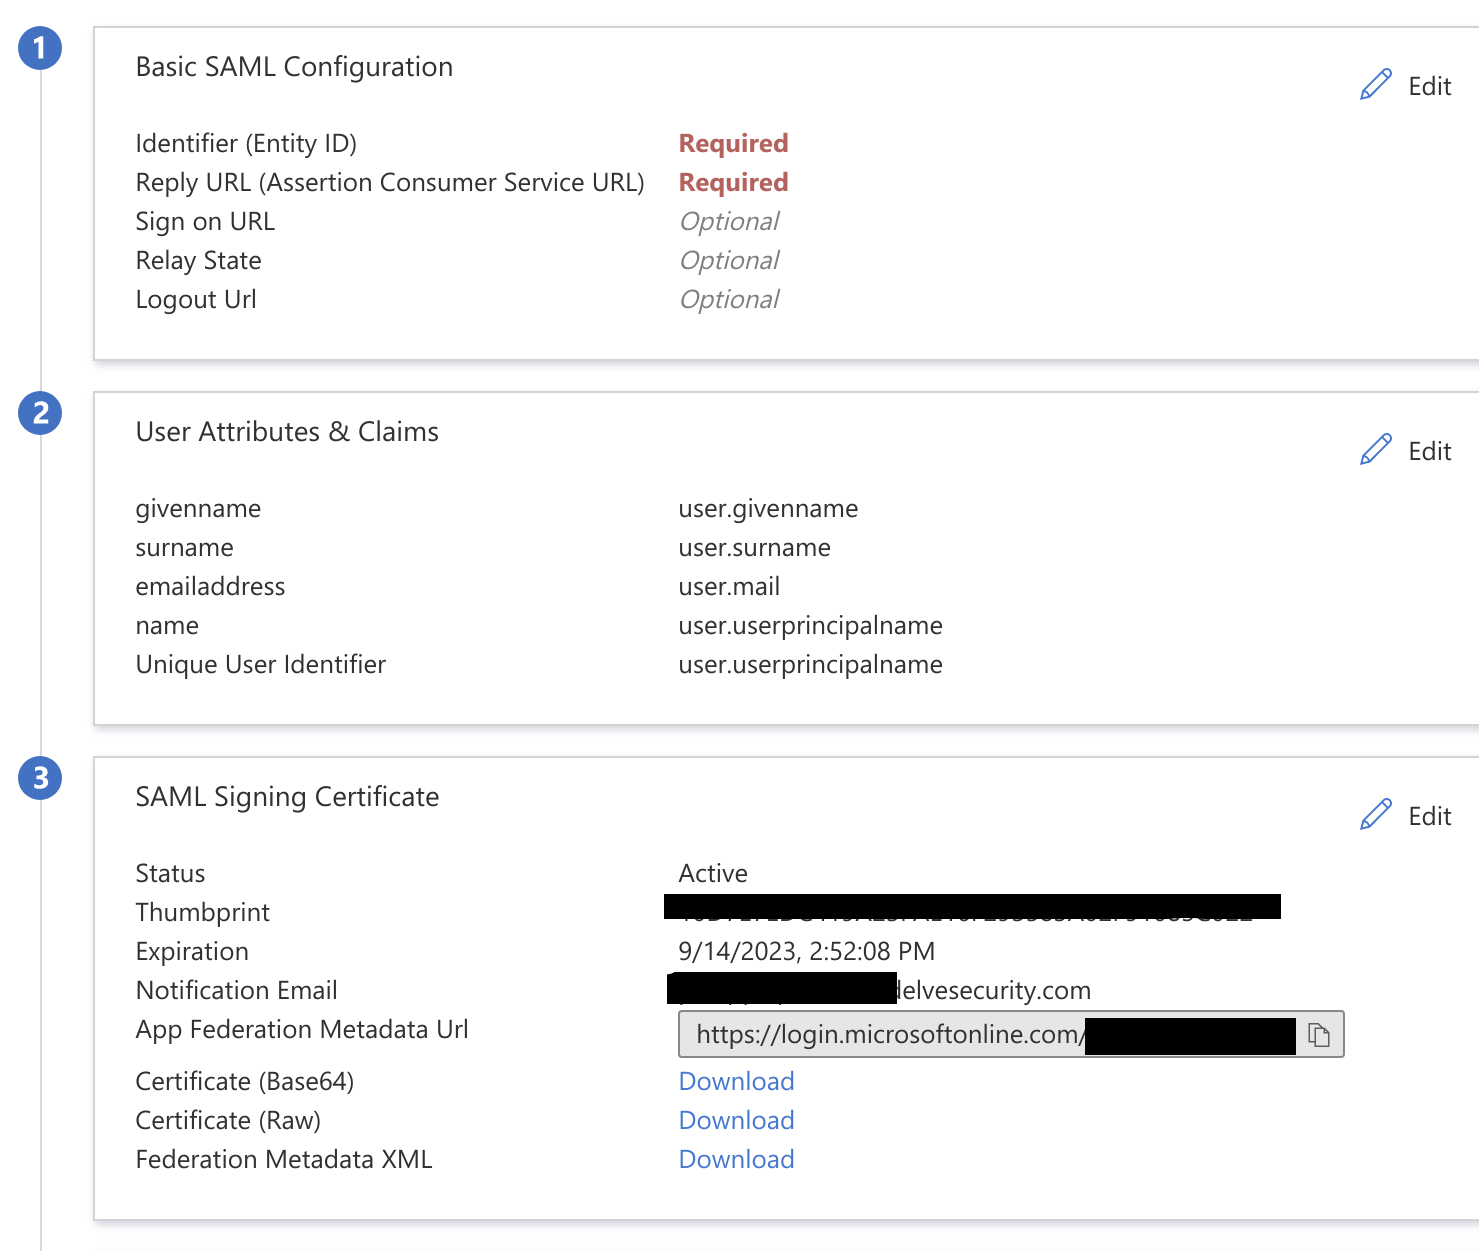
Configure SAML -
Our Support team will request the Metadata URL at the same time we provide you with the Reply URL; you can copy and send us the App Federation Metadata URL.
SSO Login🔗
Once we give you confirmation that SSO is enabled on our end, you should be able to log in by accessing the VDR login page, similar to the following screenshot:
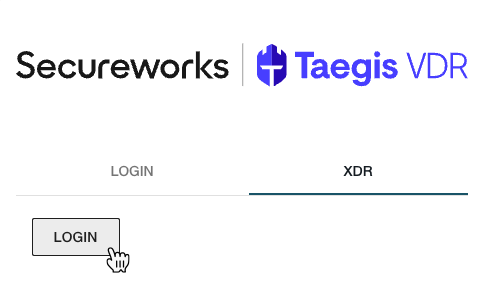
The Domain could vary based on your setup, but it is usually:
login.microsoftonline.com